A Complete Guide to Waterproofing Contact Microphones
Table of Contents
Contact microphones are great for capturing subtle vibrations and sounds that traditional mics often miss. But when moisture, humidity, or accidental splashes come into play, even the best contact mics can fail. Whether you’re recording in a damp outdoor setting, underwater environment, or simply want to protect your gear from sweat and rain, waterproofing your contact microphone is essential.
This guide explains the steps, materials, and safety considerations involved in waterproofing contact microphones, while also answering related questions users often search for — ensuring your setup performs flawlessly in any condition.
Why Waterproof a Contact Microphone?
Waterproofing isn’t just about recording underwater. Many musicians, sound designers, and field recordists use contact mics in unpredictable environments — rain, fog, or high humidity can all degrade audio quality or cause permanent damage.
Some key benefits of waterproofing include:
- Extended durability: Protects delicate internal components from corrosion.
- Consistent sound quality: Prevents distortion caused by moisture entering the capsule.
- Flexibility: Allows safe use in outdoor, aquatic, or experimental recording projects.
What Parts of a Contact Mic Are Vulnerable to Water?

A contact microphone’s weak points are:
- Transducer surface (piezo element) — easily damaged by moisture.
- Solder joints — exposed metal can corrode.
- Cable junction — where water can seep through cracks or loose insulation.
- Connector (jack or XLR) — prone to rust or electrical shorts if wet.
Each part requires a different waterproofing approach to maintain audio fidelity and reliability.
Step-by-Step: How to Waterproof a Contact Microphone
1. Seal the Piezo Element
- Use a thin layer of clear silicone sealant or liquid electrical tape over the piezo surface and its solder joints.
- Allow at least 24 hours for full curing before testing.
- Avoid thick coatings, as they can muffle sensitivity and reduce frequency response.
2. Protect the Cable and Connector
- Apply heat-shrink tubing along the joint where the cable meets the piezo.
- For the plug end, use a rubber boot or marine-grade connector cap to block moisture.
- For semi-permanent setups, potting compounds (epoxy-based) can fully encase the junction for maximum waterproofing.
3. Test in Controlled Conditions
Before submerging your microphone, perform a controlled test:
- Lightly mist the mic with water or record in a humid space.
- Listen for crackling, distortion, or signal dropouts — signs that moisture has breached a seal.
- Adjust sealing thickness or materials as needed.
4. Maintain and Reapply
- Inspect waterproof coatings every few months, especially after outdoor use.
- Reapply silicone or sealant if you notice cracks, peeling, or discoloration.
What Materials Work Best for Waterproofing?
When choosing materials, prioritize flexibility and non-conductivity. Common options include:
- Silicone sealant: Long-lasting, flexible, and removable for maintenance.
- Epoxy resin: Extremely durable but permanent — ideal for fixed installations.
- Liquid electrical tape: Quick and convenient for small gaps or temporary waterproofing.
- Marine-grade heat shrink: Offers professional-level moisture resistance for cables and connectors.
Common Mistakes to Avoid
- Using hot glue: It can soften or detach under heat or moisture.
- Overcoating the piezo: Reduces vibration sensitivity.
- Skipping curing time: Leads to trapped moisture and corrosion.
- Testing immediately after sealing: Always allow sealants to fully cure before exposure.
How to Store a Waterproofed Contact Mic
Even waterproofed equipment benefits from proper care.
- Keep it in a dry, padded case when not in use.
- Store silica gel packets nearby to absorb residual humidity.
- After exposure to water, dry the mic completely before storing to avoid long-term moisture buildup.
How Waterproofing Affects Sound Quality
Every sealant adds a thin layer of damping to the transducer, which may slightly alter its sensitivity or high-frequency response. To minimize this effect:
- Apply evenly and thinly.
- Test multiple coatings on spare elements before finalizing.
- Avoid air bubbles or uneven coverage, as they distort signal clarity.
Can You Use a Waterproofed Contact Mic Underwater?
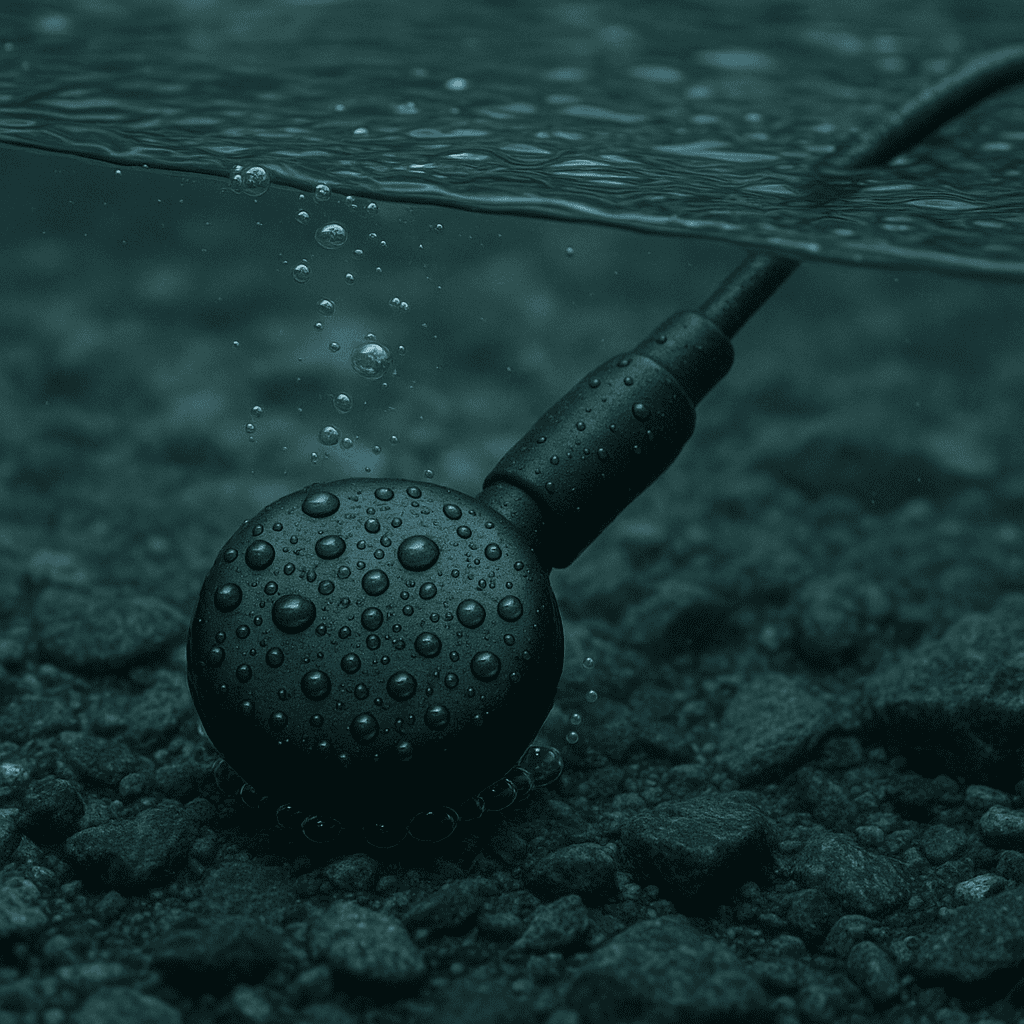
Partially. While a waterproofed mic can withstand splashes and humidity, true underwater recording requires a hydrophone — a specialized mic designed for underwater acoustics.
However, a properly sealed contact mic can still pick up vibrations through submerged surfaces, making it suitable for experiments like:
- Capturing boat hull resonance
- Recording aquatic instruments
- Exploring underwater sound textures through solid surfaces
Final Thoughts
Waterproofing a contact microphone is an inexpensive yet crucial step in protecting your audio gear. Whether you’re experimenting with unconventional soundscapes or capturing vibrations in unpredictable conditions, a well-sealed mic ensures reliability and longevity.
By understanding how water interacts with each component — and applying the right sealants and materials — you can confidently take your recordings beyond the studio and into the elements.


