How to Recognize and Repair Clipped Audio in Post-Production
Table of Contents
Clipped audio is one of the most common and frustrating issues audio editors face during post-production. Whether it’s the result of improper gain staging, sudden volume spikes, or faulty recording setups, clipped audio can severely degrade the quality of a project. Understanding how to identify clipping and knowing the best techniques to mitigate or repair it can make the difference between a salvageable recording and one that needs to be re-recorded entirely.
Understanding Clipped Audio
Clipping occurs when an audio signal exceeds the maximum limit that a digital or analog system can handle. In digital audio, this threshold is typically 0 dBFS (decibels relative to full scale). When the signal goes beyond this point, it becomes “clipped,” resulting in a distortion that sounds harsh, crackly, or fuzzy. The waveform of a clipped signal will appear to have flat peaks, indicating that the audio has been truncated rather than smoothly following its natural curve.
Clipping is not just an aesthetic problem, it’s a technical one. Once the waveform has been cut off at the peak, the original signal data is lost. This loss of information makes accurate restoration challenging, but there are effective ways to reduce the impact during editing.
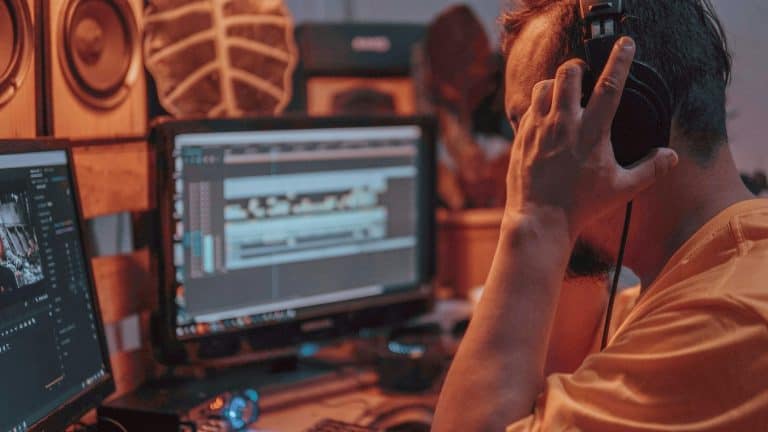
How to Recognize Clipped Audio
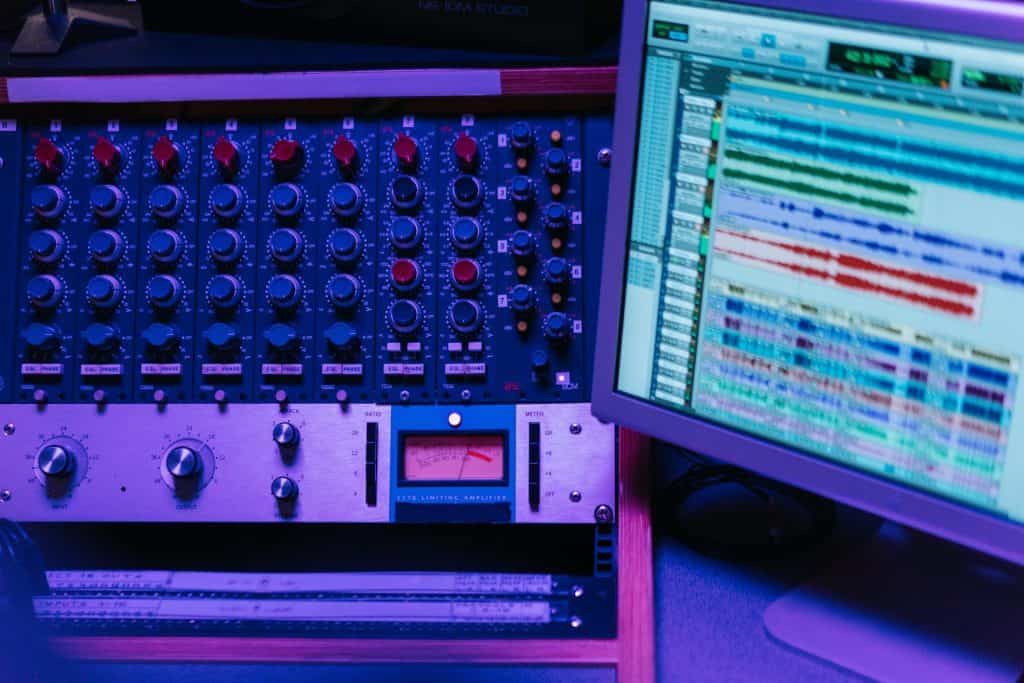
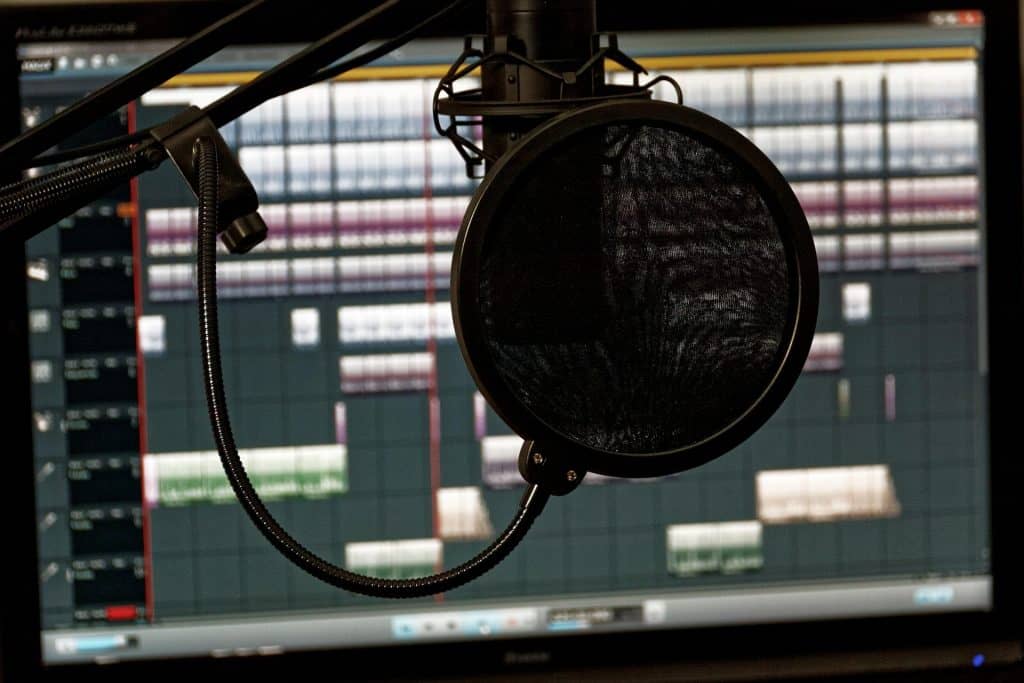
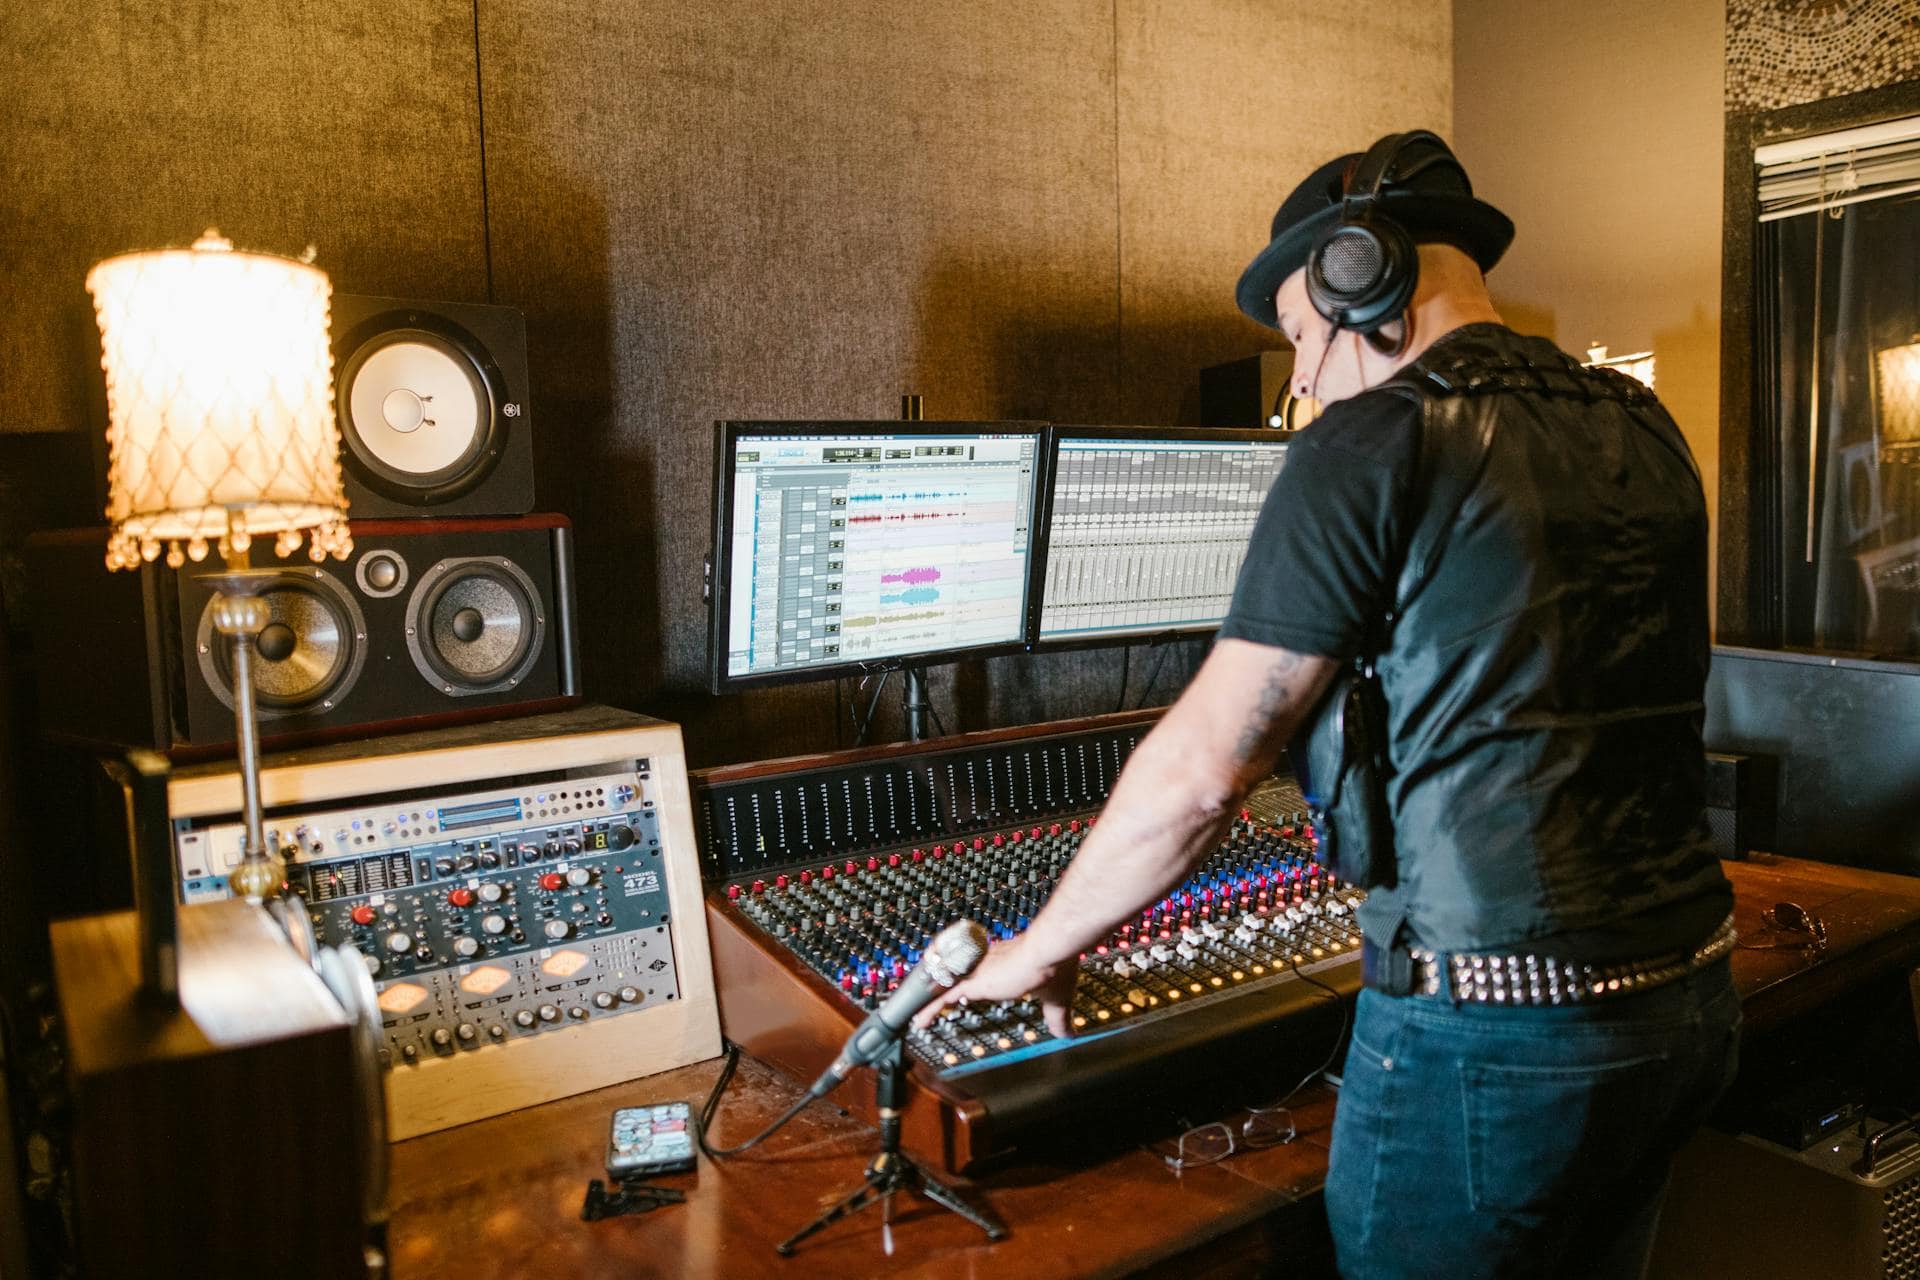
Recognizing clipped audio begins with both visual and auditory inspection. In a digital audio workstation (DAW), clipped waveforms will appear visibly flattened at the top and bottom. This flattening indicates that the signal hit the system’s ceiling and could not rise any further, effectively cutting off the natural shape of the waveform.
Audibly, clipping is often easy to detect. The sound will contain a noticeable crackle or distortion, especially during louder parts of a dialogue or musical performance. It’s typically most obvious on consonants like “s,” “t,” or during sharp percussive hits. Some DAWs also include clipping indicators or meters that flash red when the signal exceeds 0 dBFS, providing a quick visual reference for potential problem areas.
Repairing Clipped Audio

Step 1: Identify the Affected Sections
Begin by locating the clipped regions in your recording. Use your DAW’s waveform view to spot flattened peaks and listen carefully for audible distortion. Zooming in on the waveform will help you isolate problematic moments that need correction.
Step 2: Use Audio Restoration Plugins
Dedicated audio restoration tools are the most effective method for repairing clipped audio. Plugins such as iZotope RX’s De-clip module or Acon Digital’s DeClip analyze the waveform and reconstruct the lost peak information. These tools intelligently estimate what the original signal should have been and restore a more natural shape to the waveform. While not flawless, they often provide significant improvement, especially in speech and solo instruments.
Step 3: Apply EQ and Compression for Minor Clipping
If the clipping is minimal, subtle equalization and compression can help. Use EQ to reduce harsh high frequencies where the distortion is most prominent. A multiband compressor can help control dynamic peaks across different frequency ranges, smoothing out the sound without introducing artifacts.
Step 4: Use Soft Clipping or Limiting as a Masking Tool
In some cases, a soft clipper or brickwall limiter can round off harsh transients and mask minor clipping artifacts. While this doesn’t restore the original signal, it can make the audio more listenable and reduce ear fatigue for the audience.
Step 5: Consider Re-Recording If Necessary
If the distortion is too severe and restoration tools cannot recover usable quality, re-recording the affected segment may be the only viable option. Whenever possible, weigh the time and cost of restoration against the practicality of capturing a clean re-take.
Preventing Clipping in Future Recordings
While post-production tools are powerful, the best solution is prevention during recording. Proper gain staging is essential. Ensuring that the input signal never exceeds safe levels reduces the risk of clipping altogether. Most audio interfaces and recorders include level meters—keeping peaks around -6 dBFS provides enough headroom to accommodate sudden spikes without distortion.
Encouraging talent to maintain consistent mic technique and monitoring recordings in real-time can further reduce the chances of capturing clipped audio. When in doubt, record at a lower gain and normalize levels in post-production rather than risk irreversible damage.
Final Note
Clipped audio can be a serious issue, but it doesn’t always mean the end of a recording. With the right tools and techniques, audio editors can often repair or at least minimize the negative effects of clipping. Recognizing the signs of clipping early, applying intelligent restoration methods, and establishing good recording practices are the keys to maintaining clean, professional audio quality throughout the post-production process.