How to Integrate External Preamps with Audio Interfaces
Table of Contents
When it comes to enhancing the quality of your recordings, using an external preamp with your audio interface can be a game-changer. While audio interfaces often come with built-in preamps, standalone preamps provide greater tonal flexibility, higher fidelity, and more control over your sound. This article explains how to pair external preamps with audio interfaces effectively to get the best results from your audio setup.
Understanding Preamps and Audio Interfaces

Before diving into the integration process, it’s important to understand the roles of preamps and audio interfaces in your signal chain:
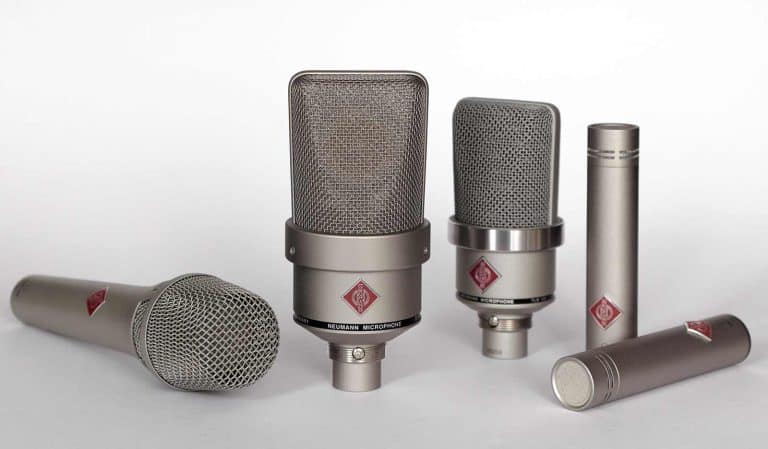
External Preamps
These devices amplify low-level microphone or instrument signals to a line-level signal suitable for further processing or recording. External preamps often offer superior sound quality, unique tonal characteristics, and advanced features compared to built-in preamps.
Audio Interfaces
These devices serve as the bridge between your analog audio equipment and your computer. They convert analog signals into digital signals (A/D conversion) and vice versa (D/A conversion). Many audio interfaces also include built-in preamps, which can sometimes create confusion when pairing them with external preamps.
Benefits of Using External Preamps

Improved Sound Quality
High-end external preamps often outperform built-in preamps in terms of clarity, warmth, and headroom.
Tonal Variety
Standalone preamps come in a range of tonal flavors, from transparent to colored, allowing you to shape your recordings creatively.
Advanced Features
Many external preamps offer additional controls, such as high-pass filters, phase inversion, and impedance adjustments.
Key Considerations Before Integration

Compatibility
Ensure that your external preamp and audio interface are compatible in terms of connectivity. Most preamps output line-level signals, so your audio interface should have dedicated line-level inputs (often labeled as “Line In”). Avoid using microphone inputs on your interface for external preamps, as this can lead to signal distortion or coloration.
Connection Types
Check the connection types on both devices. Common options include XLR, TRS (balanced ¼-inch), and TS (unbalanced ¼-inch). Use balanced connections wherever possible to minimize noise and interference.
Input Impedance
Ensure the input impedance of your audio interface’s line inputs matches or exceeds the output impedance of the external preamp. A mismatch can result in signal degradation or loss of tonal fidelity.
Gain Staging
Proper gain staging is crucial when using external preamps. The preamp should provide enough gain to bring the signal to line level without overloading the input of the audio interface. Use the preamp’s output level control to fine-tune the signal.
Step-by-Step Guide to Integrating External Preamps

1. Connect the Microphone to the External Preamp
Plug your microphone or instrument directly into the external preamp’s input using an appropriate cable (typically an XLR cable for microphones). Adjust the input gain on the preamp to achieve a clean, strong signal without clipping.
2. Connect the Preamp to the Audio Interface
Take the line-level output from the preamp and connect it to one of the line inputs on your audio interface. Use a balanced XLR or TRS cable to maintain signal integrity.
3. Bypass the Interface’s Built-In Preamps
If your audio interface does not have dedicated line-level inputs, you may need to bypass its built-in preamps. Many interfaces have a “line” or “instrument” switch on their inputs, which adjusts the input circuitry to accommodate line-level signals. If this option is unavailable, you’ll need to carefully manage the input gain to avoid double amplification.
4. Set Levels and Monitor the Signal
Adjust the output level of the external preamp to ensure the signal entering the audio interface is strong but not clipping. Additionally, monitor the levels on your audio interface and DAW (Digital Audio Workstation) to confirm proper signal flow.
5. Record and Evaluate
Record a test signal and listen critically to ensure the sound is clean, with no unwanted distortion or noise. If necessary, adjust the gain staging and connections.
Troubleshooting Common Issues

Distortion or Clipping
Check the output level of the external preamp and reduce it if necessary. Ensure the audio interface’s input gain is set correctly.
Noise or Hum
Use balanced cables and check for grounding issues. Avoid running audio cables parallel to power cables.
Thin or Weak Signal
Verify that the external preamp is outputting a proper line-level signal and that the interface’s input is set to “line.”
Final Note
Integrating an external preamp with your audio interface is a straightforward process that can significantly enhance your recordings. With these steps, you can achieve a professional-quality sound that meets your creative needs. Experiment with different preamps and configurations to discover the unique tonal characteristics they bring to your setup.