Lavalier microphones, often called lav mics or lapel mics, are built for one thing: capturing clear voice audio while staying out of the way. You’ve seen them everywhere. Interviews, YouTube videos, presentations, live events. They clip onto clothing, stay discreet, and let you move freely while speaking.
But Lavalier microphones aren’t “set it and forget it.” Placement, environment, and setup matter more than the mic itself. If you don’t get those right, even a high-end lav mic can sound muffled or inconsistent.
This guide breaks everything down. You’ll learn how lavalier microphones work, what features matter, how to use them properly, and when they’re the right choice. If you’re looking for specific recommendations, check our guide to the best lavalier microphones once you finish here.
What Is a Lavalier Microphone?
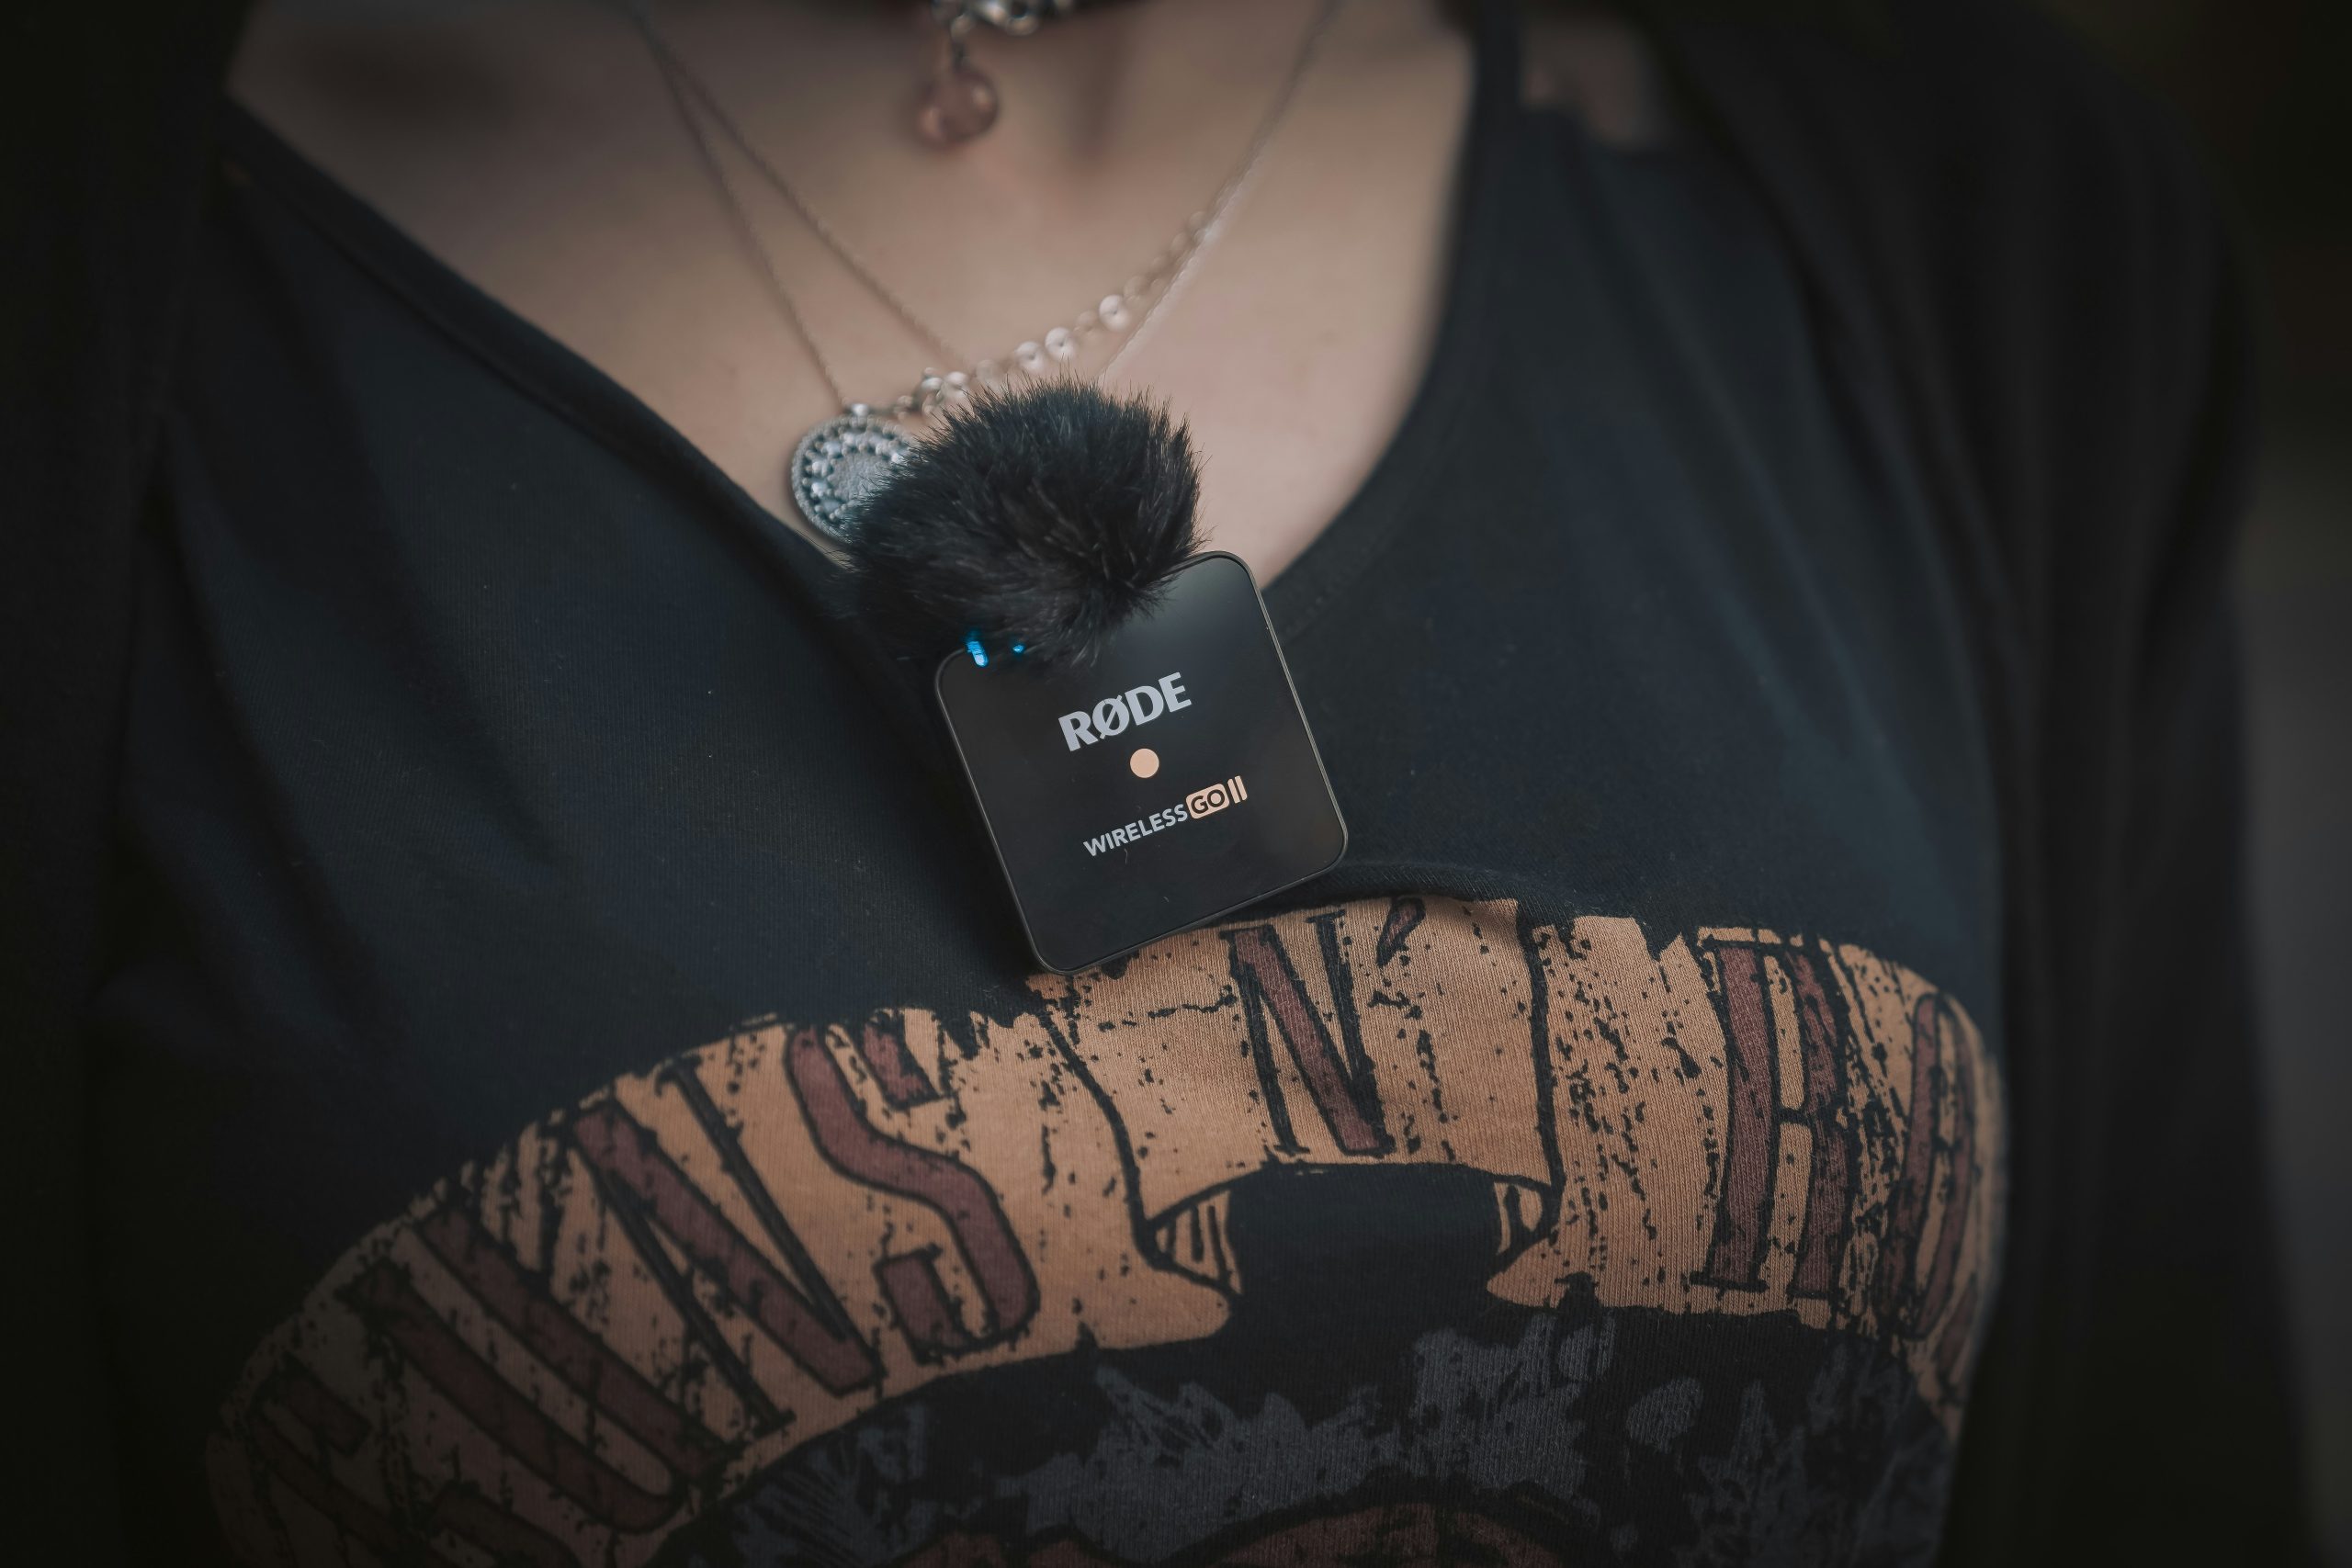
A lavalier microphone is a small clip-on microphone designed to be attached to clothing, usually near the chest area. It captures voice audio while remaining discreet and hands-free. Unlike handheld or desk microphones, lav mics are designed for mobility. You can walk, gesture, and present naturally without worrying about staying close to a fixed mic.
They’re commonly used with:
- Cameras for video recording
- Smartphones for mobile content
- Wireless systems for live presentations
- Audio recorders for interviews
The key advantage is freedom. The challenge is controlling how and where the mic picks up sound.
Who Should Use a Lavalier Microphone?
Lavalier microphones are built for situations where mobility and subtlety matter more than raw audio power.
YouTubers and Content Creators
If you film tutorials, talking-head videos, or vlogs, lav mics let you move naturally without worrying about staying in front of a microphone. They’re especially useful for standing shots, wide framing, or outdoor content where a desk mic isn’t practical.
Interviewers and Journalists
Lavalier microphones are one of the most reliable ways to capture clean dialogue during interviews. Each person can wear their own mic, which keeps audio levels consistent and avoids the imbalance you often get with a single shared microphone.
Presenters and Public Speakers
If you’re speaking on stage or presenting to an audience, a lav mic gives you the freedom to move while keeping your voice clear. Paired with a wireless system, it allows full mobility without being tied to a fixed position.
Filmmakers
In video production, lav mics are often used as a primary or backup audio source. They’re easy to hide and provide consistent voice capture, especially in controlled environments.
Lavalier Microphone Types: Wired vs Wireless
One of the biggest decisions is whether to go wired or wireless. Both options can produce great results, but they solve very different problems. The right choice depends on how much you move, how you film, and how simple you want your setup to be.
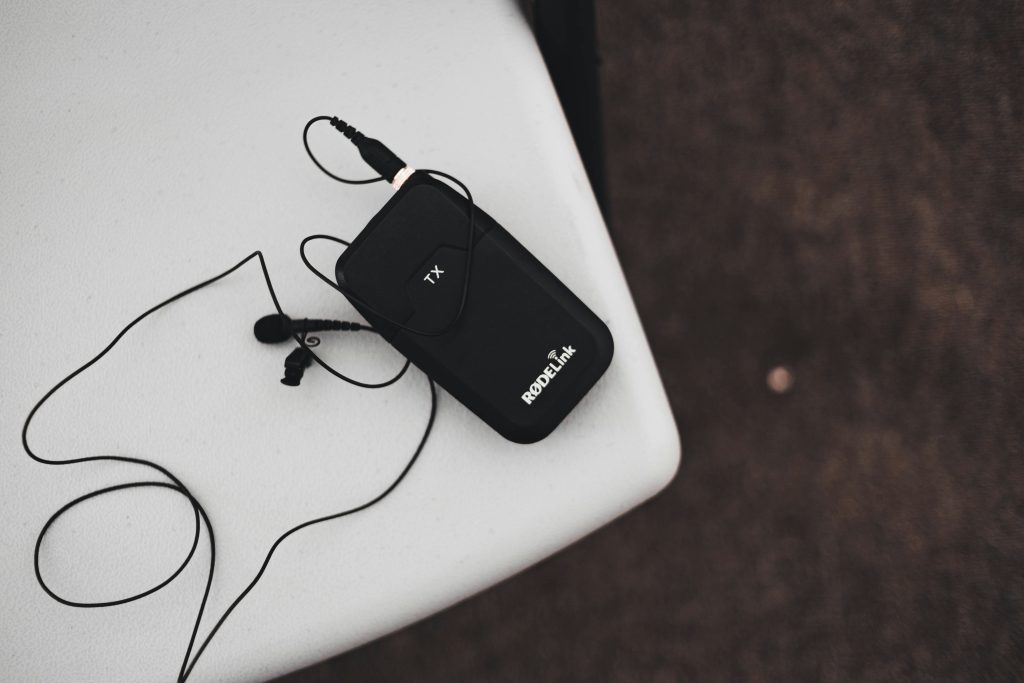
Wired Lavalier Microphones
Wired lav mics connect directly to your camera, phone, or recorder, which makes them the simplest option to use. There’s no pairing process, no signal management, and fewer things that can go wrong during recording.
Because the connection is physical, your audio signal is stable and consistent. You don’t have to worry about dropouts, latency, or wireless interference, which makes wired lav mics a solid choice for controlled environments like sit-down interviews or desk-based recording.
The trade-off is mobility. You’re physically connected to your recording device, which limits how far you can move. It can also affect how you frame your shots, especially if the cable becomes visible or gets in the way. Managing the cable properly is important to avoid noise from movement or accidental pulls during recording.
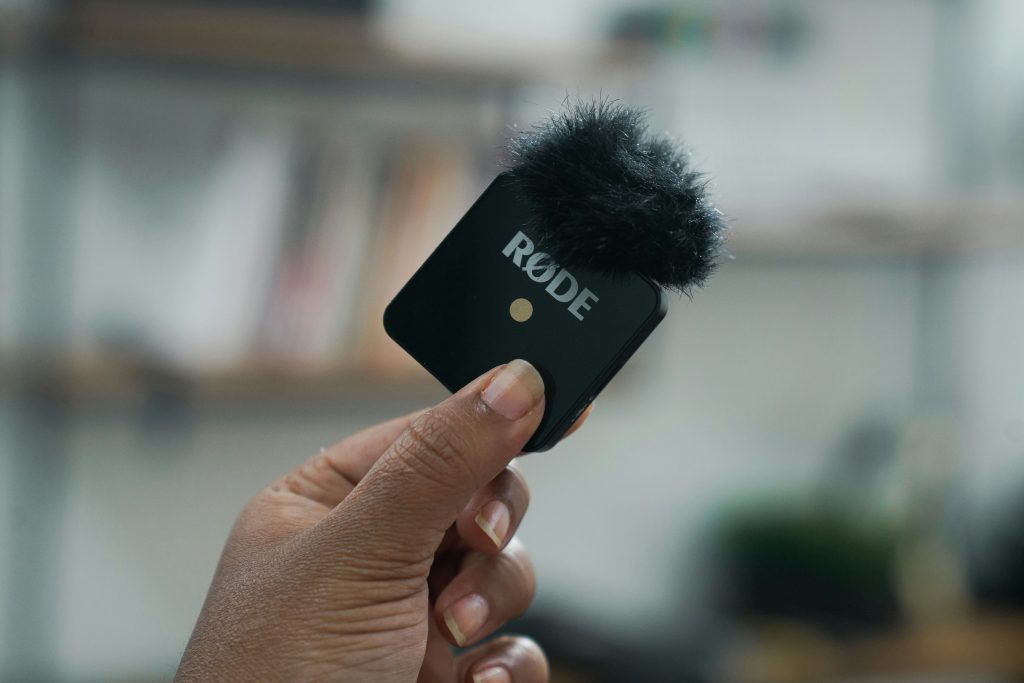
Wireless Lavalier Microphones
Wireless lav systems use a transmitter attached to the microphone and a receiver connected to your camera or recording device. This removes the physical connection and gives you full freedom to move.
This flexibility is what makes wireless lav mics popular for creators who shoot dynamic content, presentations, or anything that involves movement. You don’t have to stay near your camera, and you can maintain a clean, professional look on screen without visible cables.
The trade-off is complexity. You need to manage battery life for both the transmitter and receiver, ensure they stay paired, and monitor signal strength during recording. Interference from other wireless devices can also affect performance, especially in crowded environments.
Because of this, wireless systems require a bit more attention and testing before recording. But when set up properly, they offer a level of freedom that wired setups simply can’t match.
Key Features to Look for in a Lavalier Microphone
Choosing a lav mic isn’t just about size or price. Small details can have a big impact on how your audio turns out.
Microphone Capsule Quality
The capsule determines how your voice is captured. Higher-quality capsules produce clearer, more natural sound with less distortion. Cheaper ones often sound thin or muffled, especially in less controlled environments.
Omnidirectional vs Cardioid
Most lavalier microphones are omnidirectional, which means they pick up sound from all directions. This works well because the mic stays close to your body, but it also means it can pick up background noise and clothing movement. Cardioid lav mics exist, but they require more precise placement to work effectively.
Cable and Build Quality
With wired lav mics, the cable matters more than people think. A thin, poorly shielded cable can introduce noise or wear out quickly. Look for reinforced connectors and durable materials, especially if you’ll be moving around a lot.
Compatibility
Not all lav mics work with all devices. Some are designed for cameras, others for smartphones, and some require adapters. Always check compatibility before buying, especially if you’re switching between devices.
Accessories and Mounting Options
Clips, windshields, and mounting accessories play a big role in usability. A good clip keeps the mic stable. A foam windscreen reduces light wind noise. Small details like these can significantly improve your recordings.
Common Lavalier Microphone Mistakes
Lavalier mics are easy to use, but also easy to misuse. Most audio issues come from setup, not the mic itself.
Poor Placement
Placement is everything with lav mics. If the mic is too low, your voice will sound distant. Too high, and it can pick up harsh breath noise. A good starting point is around the upper chest area, slightly off-center. Consistent placement helps maintain even audio across recordings.
Clothing Noise
One of the most common problems is fabric rubbing against the microphone. This creates scratching or rustling sounds that are difficult to remove in editing. Securing the mic properly and choosing the right placement helps reduce this issue.
Ignoring Background Noise
Because lav mics are often omnidirectional, they pick up more than just your voice. Recording in noisy environments without considering this can lead to distracting background sound that’s hard to fix later.
Poor Cable Management
With wired lav mics, loose cables can cause noise or get in the way during recording. Securing the cable properly keeps your setup clean and reduces unwanted movement noise.
How to Set Up a Lavalier Microphone Properly
A good setup ensures your audio stays clean, consistent, and usable. Lavalier microphones are small and convenient, but that also makes them more sensitive to placement, movement, and environment. Small mistakes here can have a bigger impact than with other mic types.
Placement
Placement is the single biggest factor in how your lav mic sounds. Clipping it around your upper chest area, slightly off-center, helps avoid direct airflow from your mouth while still capturing your voice clearly.
If the mic sits too low, your voice will sound distant and less defined. Too high, and you’ll start picking up breath noise and harsh consonants. The goal is a balanced position where your voice sounds natural and consistent.
It’s worth testing a few positions before recording. Different clothing materials and body positions can change how the mic performs, so don’t assume one placement works in every situation.
Managing Clothing and Movement
Clothing noise is one of the most common issues with lav mics, and it’s often overlooked until it ruins a recording. The microphone should sit securely without rubbing against fabric. Even slight movement can create scratching or rustling sounds that are difficult to remove later. Using clips properly, or adding a small piece of tape to stabilize the mic, can make a big difference.
Cable management matters too. A loose cable can move around as you walk or gesture, which introduces unwanted noise. Securing the cable along your clothing keeps everything stable and reduces distractions.
Controlling Your Environment
Even though lav mics are positioned close to your body, they still pick up environmental sound. This includes background noise, room echo, and outdoor elements like wind. Recording in a quieter space helps maintain clarity and keeps your voice as the focus. In echo-heavy rooms, your audio can sound hollow or distant, even if the mic is placed correctly. Adding soft surfaces or choosing a smaller space can help control this.
If you’re recording outdoors, wind becomes a major factor. Using a windscreen or choosing a more sheltered location can prevent your audio from becoming unusable.
Checking Levels
Setting your levels properly ensures your voice comes through clearly without distortion. Speak at your normal volume while adjusting your input levels, not louder or softer than usual. If your levels are too high, your audio will clip and distort. If they’re too low, you’ll need to boost them later, which brings up background noise and reduces clarity.
A short test recording is essential. Listen back carefully and check for issues like uneven volume, background noise, or distortion. Fixing these before recording saves time and avoids problems that can’t be fully corrected in editing.
Software Setup
Your recording device or software needs to recognize the lav mic as the active input. This sounds obvious, but it’s a common issue, especially when switching between built-in mics and external devices. Tools like Audacity, Adobe Audition, and GarageBand allow you to monitor input levels, record clean audio, and make adjustments if needed.
Before starting your main recording, do a quick check. Confirm that your levels are stable, your audio is clean, and your setup is capturing exactly what you expect. Taking a few extra minutes here can prevent major issues later and keep your recordings consistent.
When Should You Use a Lavalier Microphone?
Lavalier microphones are the best choice when you need mobility and a clean visual setup. They’re ideal when:
- You’re moving while speaking
- You need a discreet microphone on camera
- You’re recording interviews with multiple people
- You want a consistent voice capture without holding a mic
If you’re recording in a fixed position and want maximum audio quality, other microphone types may perform better. But for flexibility and convenience, lav mics are hard to beat.
Final Thoughts
Lavalier microphones are simple on the surface, but getting great results requires attention to detail. Placement, environment, and setup all play a major role in how your audio turns out. If you get those fundamentals right, a lav mic can deliver clean, professional sound in situations where other microphones simply aren’t practical.