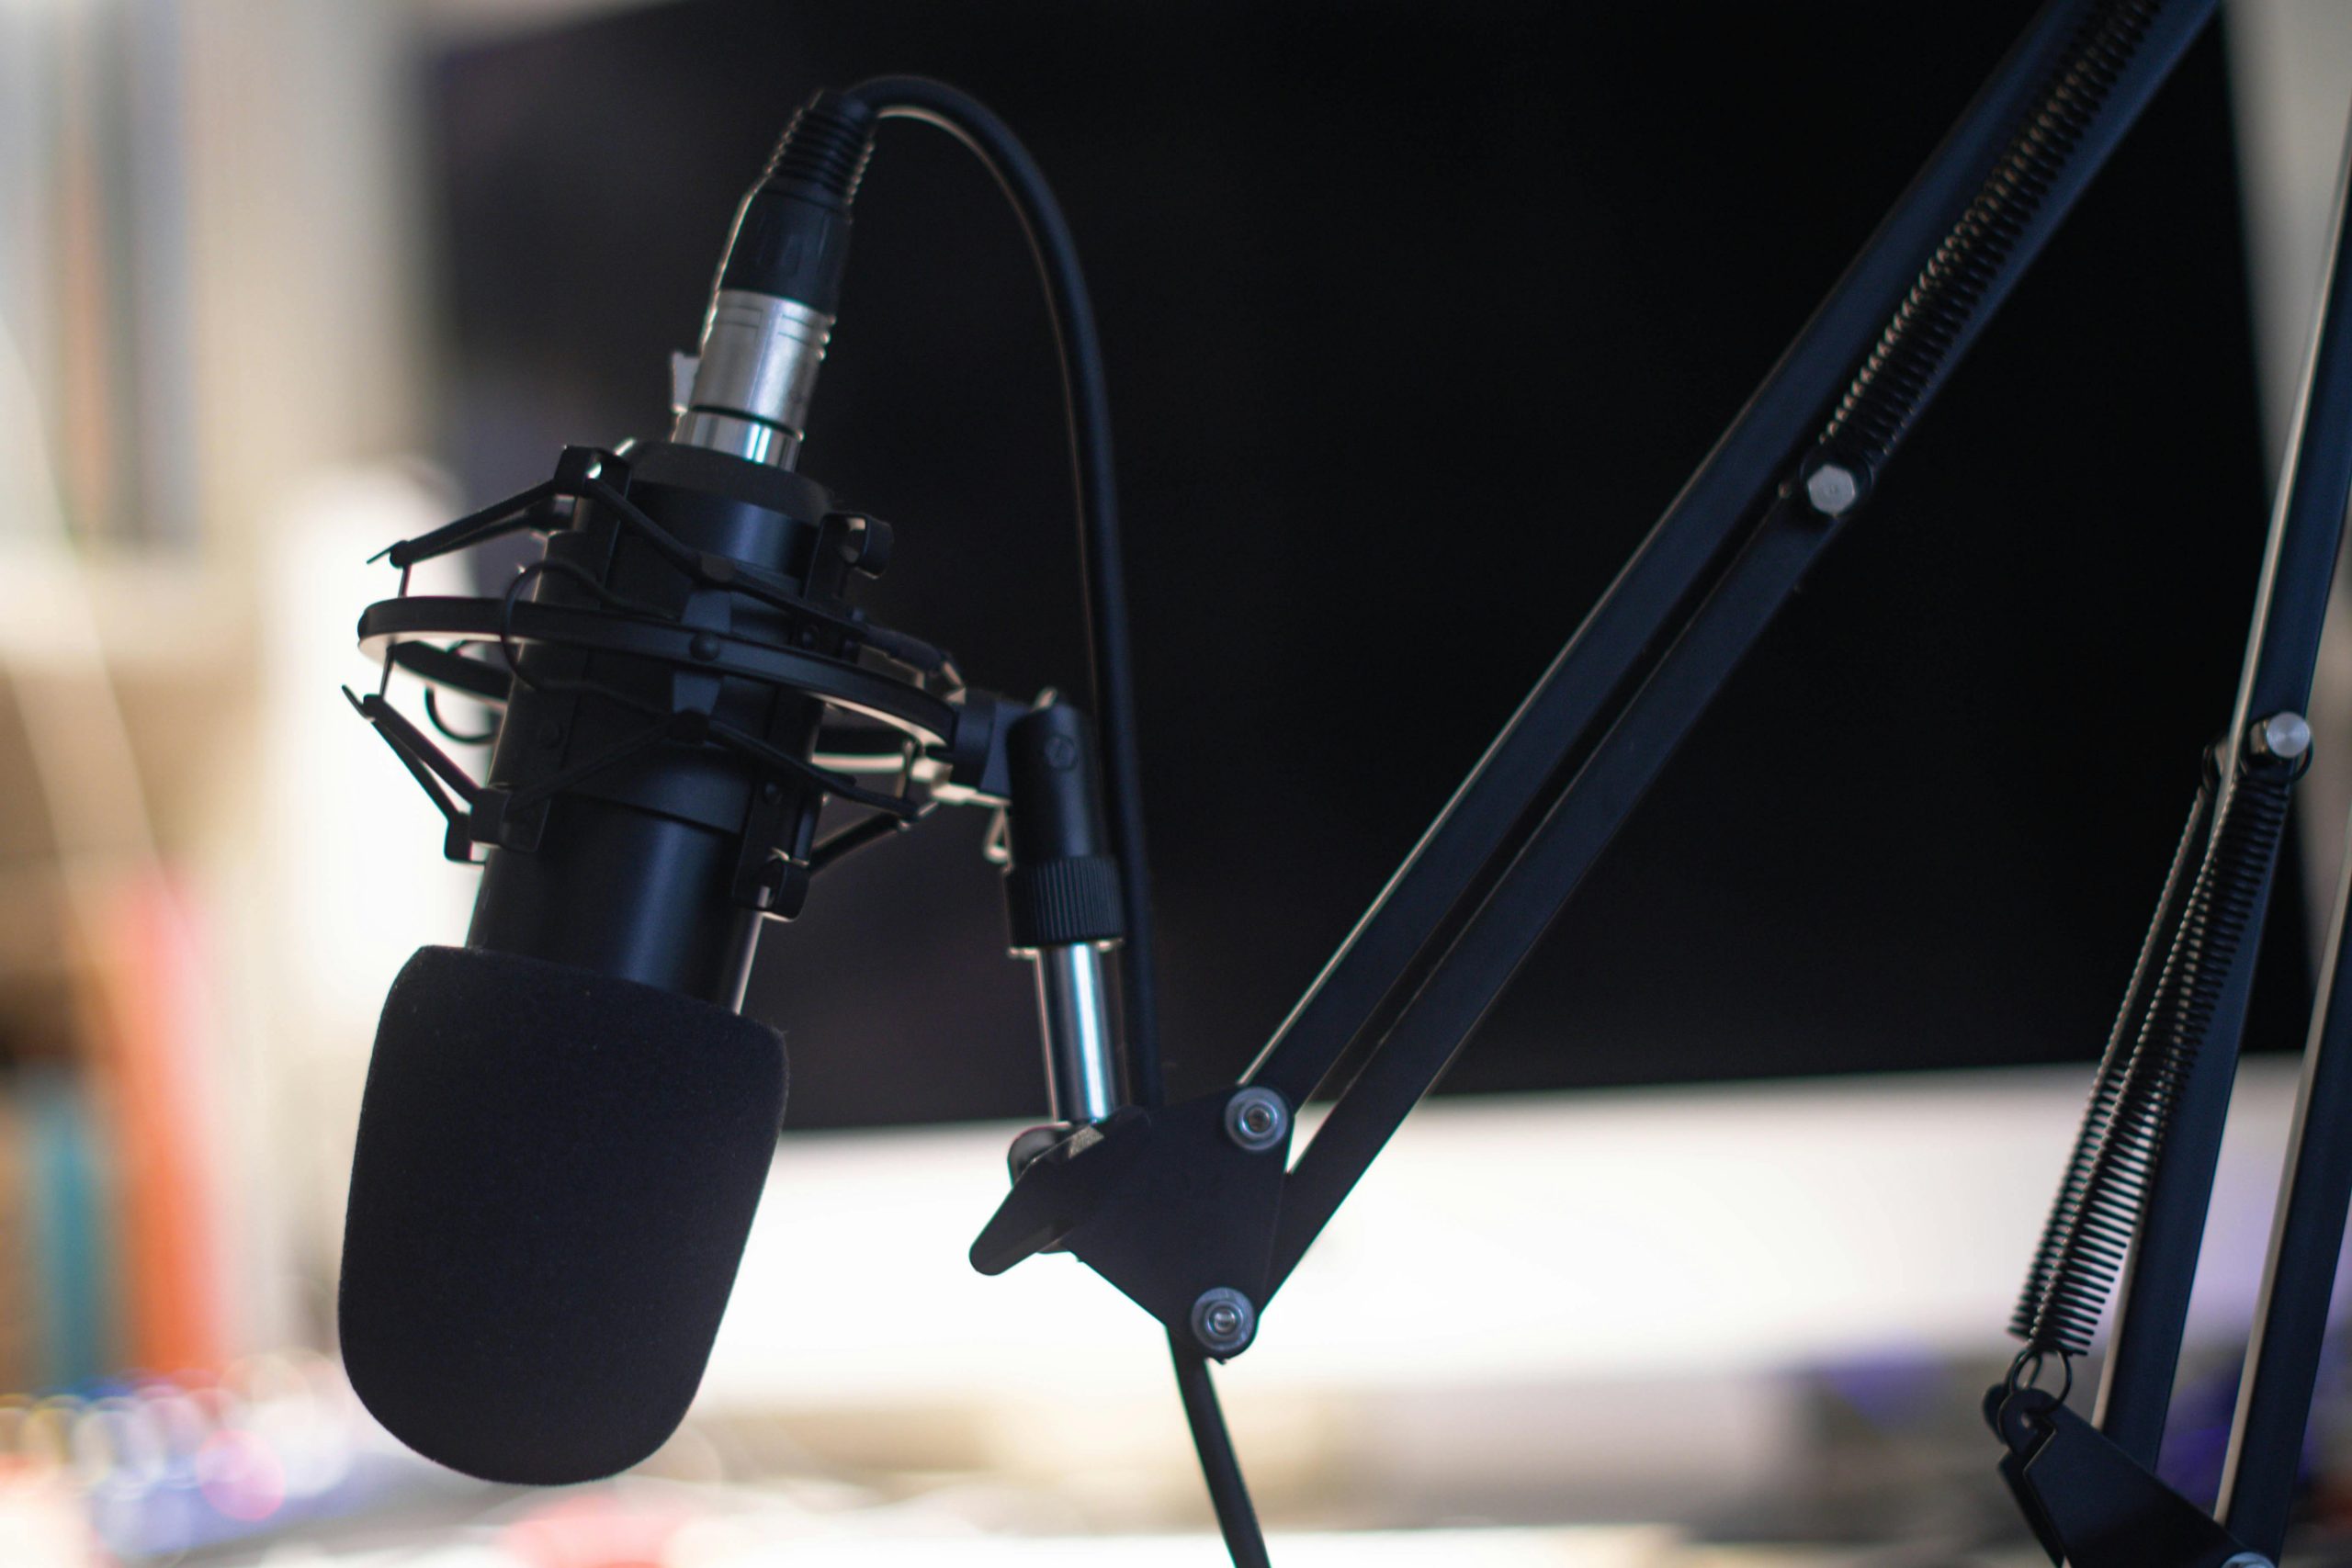
XLR microphones are the standard for professional audio. If you’ve ever listened to a podcast, watched a studio interview, or heard a polished vocal recording, there’s a good chance an XLR mic was involved. But here’s where most people get it wrong. They assume XLR automatically means better sound. That’s not always true. XLR gives you more control, more flexibility, and more room to grow. Whether that translates to better audio depends on how you use it.
This guide breaks everything down. You’ll learn how XLR microphones work, what features actually matter, how to set them up properly, and when they’re worth the investment. If you’re looking for specific recommendations, check our guide to the best XLR microphones once you finish here.
What Is an XLR Microphone?
An XLR microphone uses a three-pin connector to send analog audio to an external device, usually an audio interface, mixer, or preamp. Unlike USB microphones, it doesn’t convert audio on its own. The signal chain looks like this:
Microphone → XLR cable → Audio interface or mixer → Computer
Each part of that chain affects your sound. That’s what makes XLR powerful. You can upgrade individual components, fine-tune your setup, and build a system around your specific needs.
Why XLR Microphones Are Used in Professional Setups
XLR microphones are designed for control and consistency. In professional environments, you don’t just want decent sound. You want predictable, repeatable results across different sessions and setups. With XLR, you control:
- Gain staging through your interface or preamp
- Signal quality through higher-end components
- Audio processing through external gear or software
- Multi-microphone setups without conflicts
This level of control is what makes XLR the standard in studios, broadcast environments, and high-end content production.
Who Should Use an XLR Microphone?
XLR microphones aren’t just for professionals, but they’re not for everyone either. They make the most sense when you need more control than a plug-and-play setup can offer.
Podcasters and Multi-Host Setups
If you’re recording multiple people in the same room, whether for a podcast or interview, XLR is the better choice. Each microphone runs into an interface or mixer, which lets you control levels independently and avoid syncing issues that come with multiple USB devices. You also get better isolation between voices, especially when paired with the right microphone type and placement.
Streamers and Advanced Creators
Most streamers start with USB microphones, and that’s fine. But if you’re building a more advanced setup with multiple audio sources, XLR gives you more flexibility. You can route audio from different inputs, apply real-time processing, and fine-tune your sound in ways that USB setups can’t match.
Musicians and Home Studios
If you’re recording vocals, instruments, or full tracks, XLR is the standard for a reason. It allows you to capture higher-quality recordings and gives you the flexibility to expand your setup over time. You can upgrade your microphone, your interface, or your preamp separately instead of replacing everything at once.
Voiceover Artists
Voice work demands clarity, consistency, and control. XLR setups let you fine-tune your signal chain, which helps you achieve a more polished and professional sound. You can adjust gain staging precisely and apply subtle processing without degrading audio quality.
Key Features to Look for in an XLR Microphone
Choosing an XLR microphone isn’t just about picking a popular model. You need to understand how different features affect your sound and how they fit into your setup.
Microphone Type: Dynamic vs Condenser
This is one of the most important decisions you’ll make. Dynamic microphones are less sensitive and better at rejecting background noise. They’re ideal for untreated rooms, streaming setups, and live environments.
Condenser microphones are more sensitive and capture more detail. They’re better suited for controlled environments like studios, where you can manage background noise and reflections.
Your environment often matters more than the mic itself. A high-end condenser in a noisy room can sound worse than a good dynamic mic in a treated space.
Polar Patterns
Polar patterns determine how your microphone picks up sound. Cardioid is the most common and focuses on sound from the front while rejecting noise from the sides and rear. This is ideal for most recording setups.
Omnidirectional captures sound from all directions, which can work for group recordings but also introduces more room noise. Bidirectional records from the front and back, which is useful for interviews or two-person setups. Understanding this helps you control not just what your mic records, but what it ignores.
Frequency Response
Frequency response affects how your microphone captures different parts of your voice or instrument. Some mics emphasize higher frequencies for clarity, while others boost lower frequencies for warmth. This shapes how your voice sounds before any processing is applied. A balanced response is usually the safest choice if you’re unsure.
Sensitivity and Gain Requirements
Some XLR microphones require more gain than others. This is especially true for dynamic microphones. If your mic needs a lot of gain, your audio interface must be able to provide it without introducing noise. Otherwise, you’ll end up with a weak or noisy signal. This is where your interface matters just as much as your microphone.
Audio Interfaces: Why They Matter for XLRs
Your XLR microphone is only part of the system. The audio interface plays a major role in how your final sound turns out. An interface does three main things:
- Provides gain to your microphone
- Converts analog audio into a digital format
- Sends the signal to your computer
A low-quality interface can bottleneck even the best microphone. Clean preamps, stable drivers, and reliable conversion all affect your recording quality. This is why upgrading your interface can sometimes make a bigger difference than upgrading your mic.
Common XLR Microphone Mistakes
XLR setups offer more control, but that also means more room for error. Most issues come down to setup, not equipment quality.
Poor Gain Staging
Gain staging is critical with XLR microphones. If your gain is too high, your audio will clip and distort. If it’s too low, you’ll introduce noise when boosting it later. The goal is a strong, consistent signal that stays below clipping. This requires testing and adjusting based on your voice and environment.
Using the Wrong Microphone Type
Choosing a condenser mic in a noisy room is a common mistake. It will pick up everything, including background noise and room reflections. Matching your microphone type to your environment is more important than choosing a “better” mic.
Ignoring the Rest of the Signal Chain
An XLR microphone is only as good as the gear connected to it. A weak interface or poor cable can affect your signal quality. Treat your setup as a system, not individual pieces.
Bad Mic Placement
Even with high-end gear, poor placement can ruin your sound. Distance, angle, and consistency all matter. Getting this right often improves your audio more than upgrading equipment.
How to Set Up an XLR Microphone Properly
A proper setup is what separates average audio from professional results. With XLR, you’re working with multiple components, so small mistakes in one part of the chain can affect everything. Getting the fundamentals right ensures your microphone actually performs the way it’s supposed to.
Connecting Your Equipment
Start by connecting your microphone to your audio interface using a balanced XLR cable. Make sure the connection is secure on both ends, since loose connections can introduce noise or signal dropouts. From there, connect your interface to your computer via USB or Thunderbolt, depending on your setup. Once everything is powered on, check that your interface is being recognized by your system.
If you’re using a condenser microphone, you’ll need to enable phantom power, usually labeled as 48V on your interface. Without it, the mic won’t pick up any sound. Just make sure your gain is turned down before switching phantom power on to avoid sudden spikes.
Setting Gain Levels
Gain staging is one of the most important parts of your setup, and it’s where most people go wrong. Start speaking at your normal recording volume, not louder than usual. Slowly increase the gain on your interface until your signal is strong and clear. You want your levels to peak consistently without hitting the red or clipping.
If your gain is too high, your audio will distort, and that distortion can’t be fixed later. If it’s too low, you’ll end up boosting the signal in post, which brings up background noise and reduces overall clarity. The goal is balance. A clean, controlled signal that gives you enough headroom to work with during editing.
Positioning and Environment
Even with high-end gear, poor positioning can ruin your sound. Place the microphone slightly off-axis and just in front of your mouth to reduce plosives and harsh airflow.
Distance matters as well. Staying within a consistent range helps maintain even volume and tone. If you move too far away, your voice loses presence and picks up more of the room. Too close, and you’ll get excessive bass and uneven dynamics.
Your environment plays just as big a role. Hard surfaces reflect sound, which creates echo and makes recordings sound less focused. Adding soft materials like rugs, curtains, or furniture helps absorb those reflections and tighten up your audio.
Software Configuration
Once your hardware is set up, your software needs to be configured correctly. Select your audio interface as the input device in your recording program and make sure your sample rate and bit depth are set appropriately. Tools like Audacity, Adobe Audition, and GarageBand allow you to monitor input levels, record clean audio, and apply processing when needed.
Before you start recording, do a short test. Listen back with headphones and check for issues like background noise, distortion, or uneven levels. These problems are much easier to fix before you commit to a full recording. A few minutes of setup and testing here can save you hours of editing later and make your final audio sound noticeably more polished.
When Should You Choose XLR Over USB?
XLR microphones make sense when you need flexibility and control. You should consider XLR if:
- You’re recording multiple microphones at once
- You want more control over your audio chain
- You’re building a long-term studio setup
- You plan to upgrade individual components over time
If your setup is simple and you don’t need that flexibility, USB microphones may still be the better choice.
Final Thoughts
XLR microphones aren’t just about better sound. They’re about control, flexibility, and long-term scalability. If you’re willing to learn how to use them properly, they give you the tools to build a professional-quality setup that grows with your needs.
But like any gear, they’re only as good as how you use them. Get the fundamentals right, and you’ll get results that actually justify the upgrade.