USB microphones have changed how people record audio. You no longer need a full studio setup to get clean, professional sound. You can plug directly into your laptop, hit record, and start creating. But here’s the problem. Not all USB microphones are built the same, and most people buy the wrong one for their setup.
This guide breaks everything down. You’ll understand how USB microphones work, what features actually matter, which mistakes to avoid, and how to choose the right mic based on how you create content. If you’re looking for recommendations, you’ll want to check our main guide to the best USB microphones once you finish here.
What Is a USB Microphone?
A USB microphone is a mic with a built-in audio interface. Instead of sending analog audio to an external interface or mixer, it converts sound into digital audio internally and sends it straight to your computer via USB. That’s why they’re so popular. No extra gear. No complicated setup. You get a simple signal chain:
Microphone → Built-in converter → USB cable → Computer
This simplicity is exactly what makes USB mics ideal for beginners, solo creators, and anyone who values speed and convenience.
Who Should Use a USB Microphone?
USB microphones aren’t just for beginners anymore. They’ve improved significantly in both sound quality and build, and in many real-world setups, they perform close to traditional XLR systems without the extra complexity. The key advantage is speed and simplicity. You can set up quickly, record consistently, and avoid technical friction that slows down content creation.
Podcasters
If you’re recording podcasts or hosting remote interviews, a USB mic keeps your workflow clean and efficient. You don’t need to manage multiple inputs, interfaces, or routing software. This becomes especially important when you’re recording regularly or working with guests who may not be tech-savvy.
A podcast USB mic reduces setup time and lowers the chance of technical issues, which means you can focus on the conversation instead of the gear.
Streamers
When you’re live, there’s no room for troubleshooting. USB microphones integrate seamlessly with tools like OBS Studio and Streamlabs, making them ideal for streaming setups. You can plug in, set your levels, and go live without worrying about external interfaces or drivers. This reliability is what most streamers actually need, especially if they’re running everything from a single PC.
YouTubers and Content Creators
For voiceovers, tutorials, and talking-head videos, consistency matters more than anything. USB microphones deliver stable, repeatable audio quality without requiring constant adjustments. If you’re producing content regularly, that consistency saves time in editing and helps maintain a professional sound across all your YouTube videos. It also keeps your setup portable, which is useful if you record in different locations.
Remote Workers
Audio quality has become a big part of professional communication. Whether you’re on Zoom calls, client presentations, or team meetings, a USB microphone instantly improves how you sound. It reduces background noise, improves clarity, and makes you easier to understand. That might not seem like a big deal, but over time, it directly impacts how professional and credible you come across.
Musicians and Beginners
If you’re recording demos, vocals, or acoustic instruments at home, a USB mic is one of the easiest ways to get started. You don’t need to invest in an interface or learn complex recording chains. It’s a practical entry point for testing ideas, capturing rough takes, or building a basic home recording setup.
While more advanced musicians may eventually move to XLR systems, USB microphones are more than capable for early-stage production and experimentation.
USB vs XLR Microphones: What’s the Real Difference?
This is where most confusion happens. People assume XLR is always “better,” but that’s not the full picture. The real difference comes down to workflow, control, and how far you want to scale your setup.
USB Microphones
USB microphones combine everything into one unit. The preamp, analog-to-digital converter, and microphone capsule are all built in, so you don’t need any extra gear.
- Built-in preamp and converter
- Plug directly into your computer
- Minimal setup and fast workflow
- Limited upgrade flexibility
This setup is designed for convenience. You can go from unboxing to recording in minutes. For solo creators, streamers, and anyone who values speed, that simplicity is a huge advantage. The trade-off is that you’re locked into the internal components, so you can’t upgrade individual parts later.
XLR Microphones
XLR microphones use a traditional audio chain. The mic connects to an external audio interface, which then connects to your computer.
- Require an external audio interface
- More control over gain, tone, and processing
- Higher long-term flexibility
- Better for multi-mic setups
This gives you more control over your sound. You can choose your own preamp, upgrade your interface, and expand your setup over time. It’s a more modular system, which is why it’s the standard for studios and professional environments.
Key Features to Look for in a USB Microphone
Most people focus on brand names instead of features. That’s how you end up overpaying or buying something that doesn’t fit your setup.
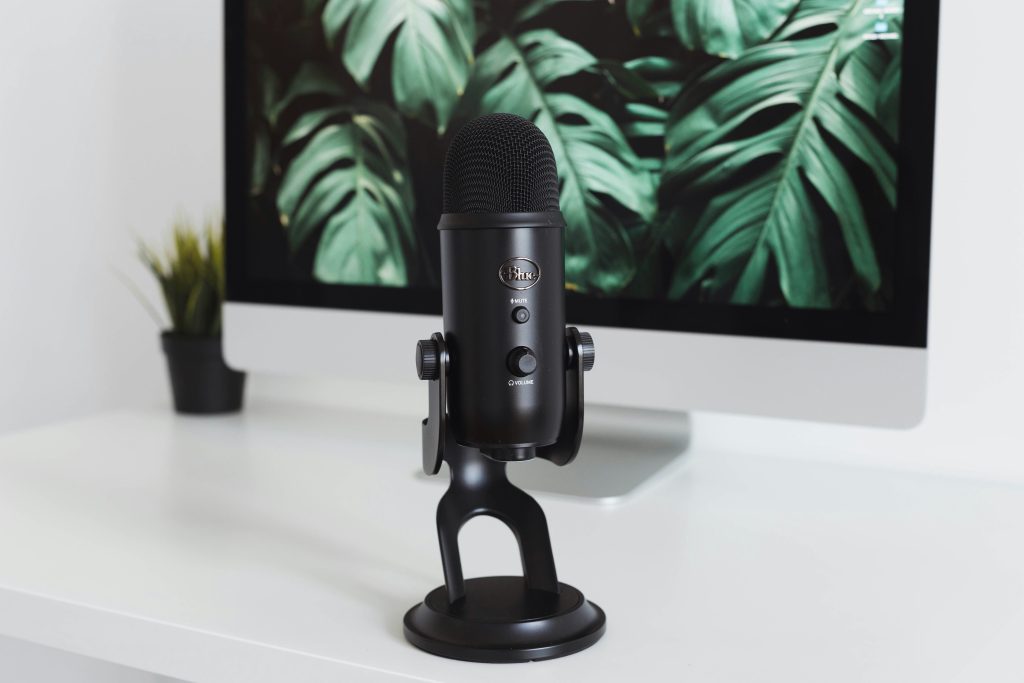
Polar Patterns
This controls how the microphone picks up sound.
- Cardioid picks up sound from the front and rejects background noise. Best for most users
- Omnidirectional captures sound from all directions. Good for group recordings
- Bidirectional records from the front and back. Useful for interviews
If you’re unsure, go with cardioid. It’s the most forgiving and widely used.
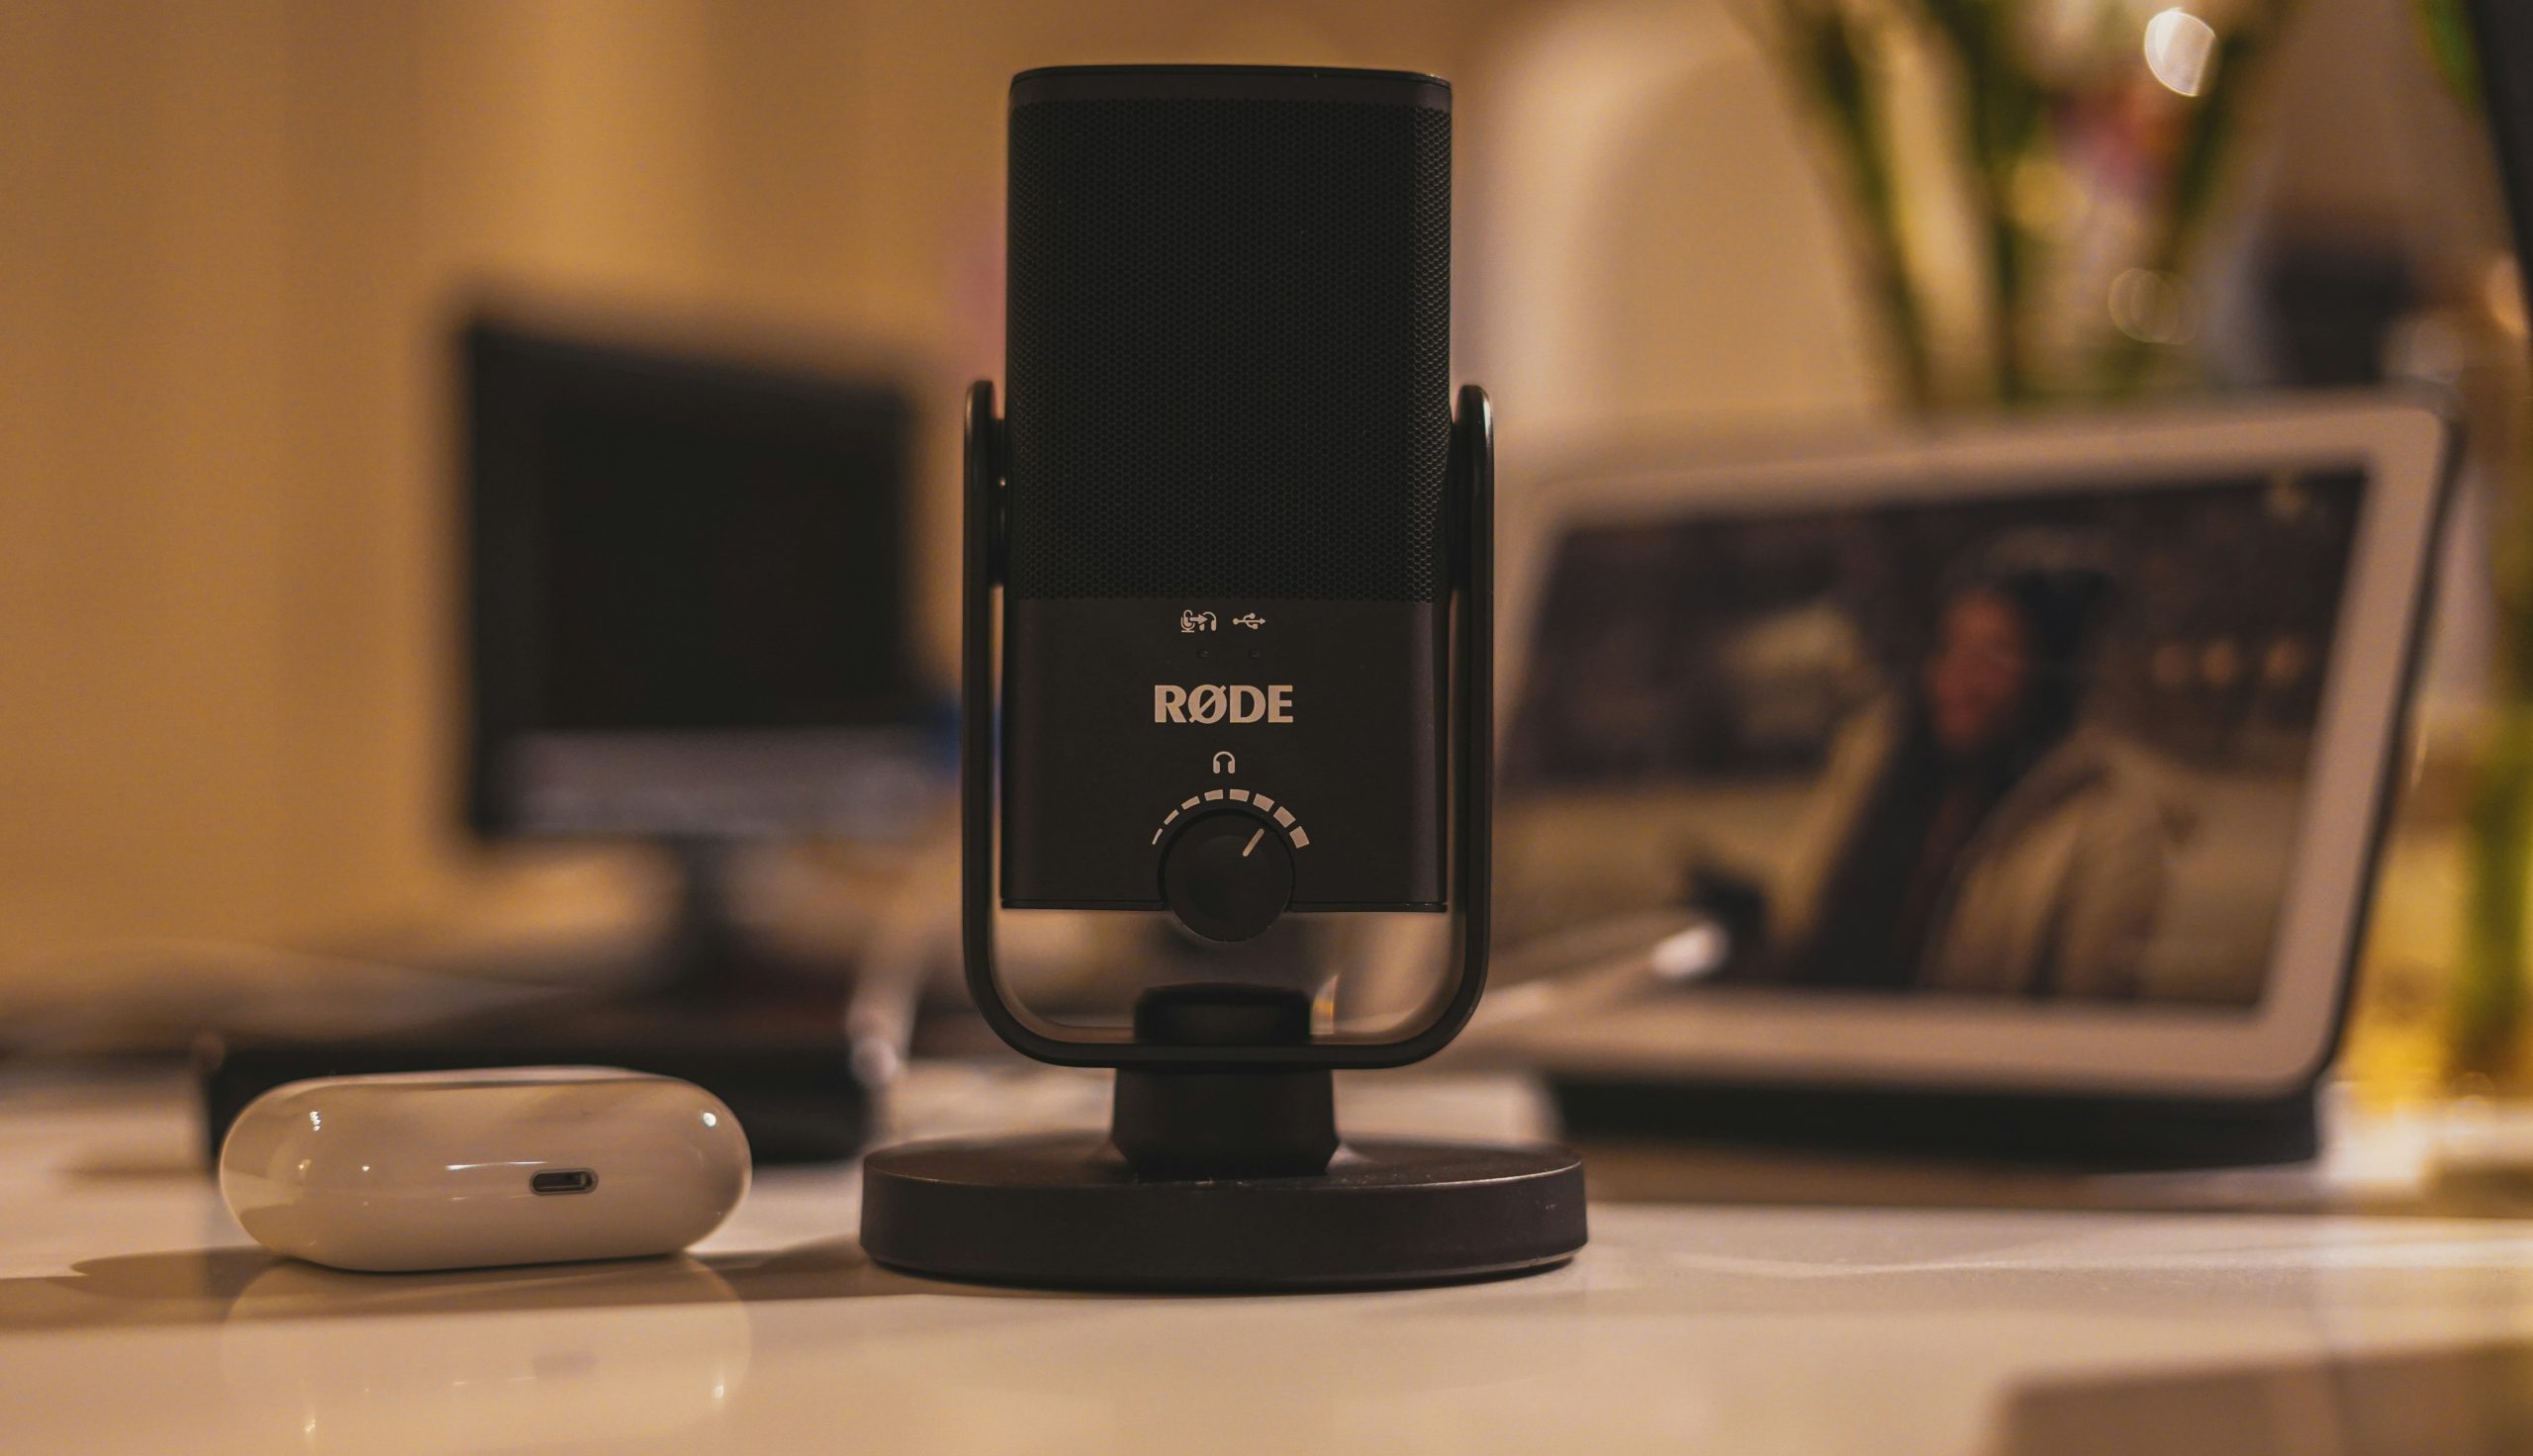
Built-In Gain Control
Gain controls how sensitive your mic is. Without proper gain control, you’ll either sound too quiet or distorted. A USB mic with a physical gain knob lets you adjust levels quickly without digging through software settings.
Headphone Monitoring
Some USB mics include a headphone jack for real-time monitoring. This matters more than people think. You’ll hear exactly what your mic is capturing, which helps you fix issues like clipping, background noise, or poor positioning before it ruins your recording.
Bit Depth and Sample Rate
These determine audio quality and detail.
- 16-bit / 44.1 kHz is standard and works fine
- 24-bit / 48 kHz gives you more headroom and flexibility
Most modern USB microphones support at least 24-bit recording, which is ideal for content creators.
Build Quality and Mounting Options
A good microphone isn’t just about sound. It’s also about usability. Look for:
- Solid metal construction
- Included stand or boom arm compatibility
- Shock mount support for reducing vibrations
If your mic picks up desk noise every time you move, it’s going to affect your recordings more than you expect.
Common USB Microphone Mistakes
This is where most people go wrong. Even a great microphone can sound bad if it’s used incorrectly. In most cases, the issue isn’t the mic itself. It’s how it’s being used.
Poor Mic Placement
Placing the mic too far away is one of the biggest mistakes. When the microphone is too far, it forces you to increase gain, which brings in more background noise and reduces clarity.
A good starting point is around 6 to 12 inches from your mouth. You also want to position it slightly off-center rather than directly in front of your mouth. This helps reduce harsh plosive sounds and creates a more natural tone. Small adjustments here can make a bigger difference than upgrading your mic.
Recording in Noisy Environments
USB mics are sensitive, which is great for capturing detail but bad for untreated spaces. Background noise like fans, keyboards, traffic, and even subtle room echo can quickly overpower your voice.
You don’t need a full studio, but you do need control. Recording in a quieter room, turning off unnecessary noise sources, and adding soft materials like curtains or rugs can significantly improve your audio. The goal is to reduce reflections and keep the focus on your voice.
Ignoring Gain Levels
Gain staging is one of the most overlooked parts of recording. If your gain is too high, your audio clips and distorts, which is impossible to fix later. If it’s too low, you’ll need to boost it in post, which introduces unwanted noise.
Always do a quick test before recording. Speak at your normal volume and aim for a strong signal that stays below the red zone. Consistency matters more than volume. You want clean, controlled levels that don’t fluctuate wildly.
Relying Only on the Microphone
A better microphone won’t fix a bad setup. This is where a lot of people waste money. They upgrade gear expecting better results, but ignore the basics that actually shape sound quality.
Your environment, positioning, and recording habits all play a major role. A well-placed mid-range USB mic in a controlled space will often outperform an expensive mic used in a poor setup. Focus on the fundamentals first, then upgrade when you actually hit the limits of your gear.
How to Choose the Right USB Microphone
Choosing the right mic comes down to how you actually use it. The best USB microphone isn’t the most expensive one. It’s the one that fits your setup, your environment, and your workflow.
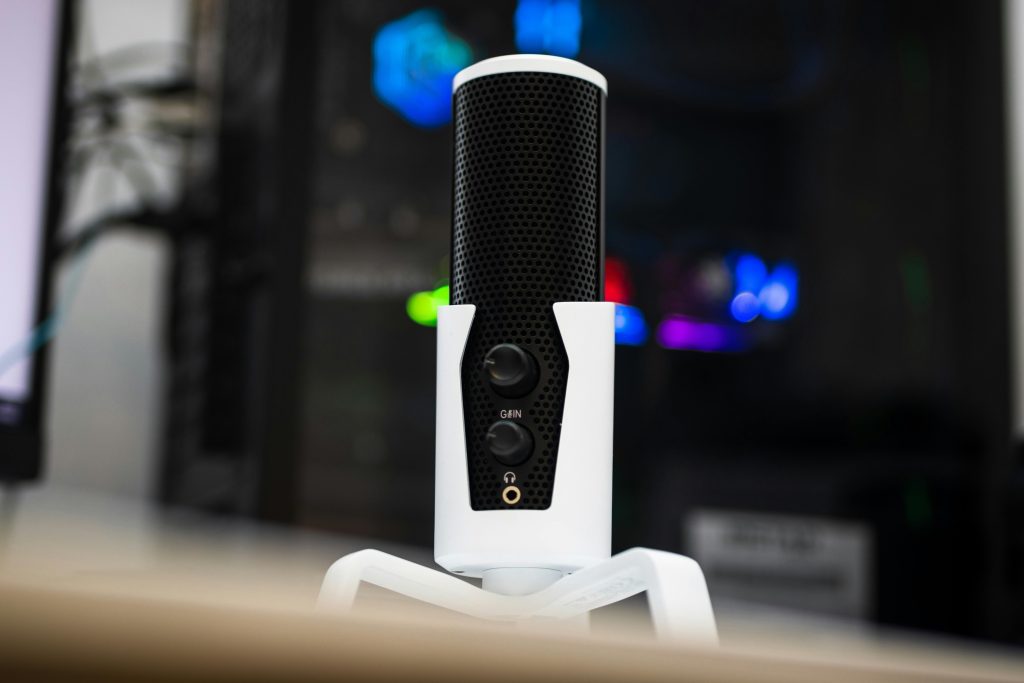
For Streaming and Gaming
Streaming is all about consistency and reliability. You don’t want to troubleshoot audio while you’re live. Look for a cardioid microphone with built-in gain control and real-time monitoring. These features let you adjust levels quickly and hear exactly what your audience hears. Background noise rejection is also important since keyboards, fans, and room noise are common in gaming setups.
You don’t need studio-level detail here. What matters is clear, controlled audio that stays consistent across long sessions.
For Podcasting
If you’re recording solo, a simple USB mic will handle everything you need. It keeps your setup clean and avoids unnecessary complexity.
If you’re recording multiple people in the same room, things change. USB microphones aren’t designed for multi-mic environments, so you may run into limitations with syncing, inputs, or sound bleed. In those cases, you’ll need to think more carefully about mic placement, or consider whether a different setup makes more sense long term.
For remote podcasting, USB mics are ideal. Each person can use their own mic, which helps maintain consistent audio quality across recordings.
For Voiceovers and YouTube
This is where clarity becomes more important than convenience. Your voice is the main focus, so the microphone needs to capture detail without sounding harsh, thin, or overly processed. Look for a USB mic with a clean, balanced sound profile and good sensitivity to vocal nuance. You’ll also benefit from stable gain control and low self-noise, especially if you’re recording in a quiet environment.
Consistency is key here. If your audio sounds different in every video, it affects how professional your content feels.
For Music Recording
USB microphones can work well for demos, acoustic recordings, and basic vocal tracking. They’re a practical starting point if you want to capture ideas quickly without setting up a full recording chain. But this is also where their limitations show. You’ll have less control over gain staging, fewer options for upgrading components, and limited flexibility for recording multiple instruments or layering tracks.
If you’re planning to take music production seriously, you may outgrow a USB setup faster. But for early-stage recording, songwriting, or casual use, they’re more than capable.
Setting Up a USB Microphone Properly
A good setup makes a bigger difference than upgrading your gear. You can get professional-sounding results from a mid-range USB mic if your positioning, environment, and settings are dialed in correctly.
Positioning
Mic placement has a direct impact on how you sound. Place the microphone slightly off-axis and just below or in front of your mouth rather than directly in line with it. This helps reduce plosives and harsh bursts of air from words with “P” and “B” sounds.
Distance matters too. Staying within 6 to 12 inches gives you a strong, clear signal without needing to push your gain too high. If you move too far back, your voice loses presence and picks up more room noise. If you’re too close, you risk distortion and overly heavy bass.
Consistency is key. Try to keep your position stable throughout your recording to avoid noticeable changes in volume and tone.
Environment
Your room shapes your sound more than your microphone does. Hard surfaces reflect sound waves, which creates echo and makes recordings feel distant or hollow. You don’t need a professional studio, but you do need to control reflections. Soft materials like curtains, rugs, couches, and even bookshelves help absorb sound and reduce echo. Recording in a smaller, quieter space often produces better results than a large, empty room.
It’s also worth reducing background noise as much as possible. Turn off fans, close windows, and position your mic away from noisy equipment.
Software Setup
Most USB mics work instantly with your system, but you’ll still want to configure your recording software.
Popular options include:
- Audacity for simple recording
- Adobe Audition for more advanced editing
- GarageBand for Mac users
Make sure your USB mic is selected as the input device and set your levels correctly before recording.
When Should You Upgrade From a USB Microphone?
USB microphones are great, but they’re not always the final step. You should consider upgrading if:
- You need multiple microphones at once
- You want more control over audio processing
- You’re building a full studio setup
- You’ve outgrown the limitations of plug-and-play gear
That’s when moving to an XLR microphone with an audio interface makes sense.
Final Thoughts
USB microphones are the easiest way to get high-quality audio without overcomplicating your setup. They’re fast, reliable, and more powerful than most people expect. But the key isn’t just buying a good mic. It’s understanding how to use it properly. If you get the fundamentals right, even a mid-range USB microphone can sound professional.