YouTube microphones play a critical role in how your content is perceived. You can have strong visuals and great editing, but if your audio sounds weak, inconsistent, or noisy, viewers will click away. Clear audio builds trust. It keeps people watching longer and makes your content feel more professional from the first few seconds.
This guide is your central hub for YouTube microphones. It covers the types of mics, how to choose the right one, setup tips, and how to get better sound without overcomplicating your workflow. From here, you can also explore our full guide to the best YouTube microphones for different content styles and budgets.
What Is a YouTube Microphone?
A YouTube microphone is any microphone used to capture voice or sound for video content. Unlike general recording mics, YouTube microphones need to balance sound quality with flexibility.
Creators often record in different environments such as home studios, bedrooms, outdoor locations, or mobile setups. Because of this, YouTube microphones are chosen not just for sound quality, but also for practicality and ease of use. They’re typically optimized for:
- Clear vocal capture
- Minimal background noise
- Consistent audio levels
- Compatibility with cameras, phones, or computers
Why Microphone Quality Matters for YouTube
Audio quality directly affects watch time, engagement, and how professional your content feels. Viewers are more forgiving of average video than they are of poor sound.
Viewer Retention
On YouTube, the first 10 to 30 seconds matter the most. If your audio sounds distant, echoey, or inconsistent, viewers are more likely to leave before engaging with your content. Clear, present audio keeps viewers comfortable and focused. It reduces listening effort, which is especially important for longer videos where fatigue can build over time.
Content Clarity
Whether you’re explaining a topic, telling a story, or reviewing a product, your message needs to be easy to understand. A good microphone ensures your voice cuts through background noise and maintains consistent volume. This is especially important when your content includes music, sound effects, or multiple speakers.
Professional Image
Audio quality shapes first impressions. Clean, balanced sound makes your content feel more polished, even if your visuals are simple. Consistent audio across videos also helps build a recognizable style. Viewers begin to associate your sound quality with reliability and professionalism.
Types of YouTube Microphones
Different types of microphones suit different YouTube formats. The right choice depends on how and where you record.
Lavalier Microphones
Lavalier mics are small clip-on microphones that attach to your clothing. They’re widely used for talking head videos, interviews, and tutorials. They keep your hands free and maintain consistent audio even if you move around. This makes them ideal for creators who record on camera and need flexibility.
Shotgun Microphones
Shotgun microphones are designed to capture sound from a specific direction. They’re often mounted on cameras or boom arms. They work well for vlogging, outdoor filming, and situations where a visible microphone is not ideal. They focus on your voice while reducing surrounding noise.
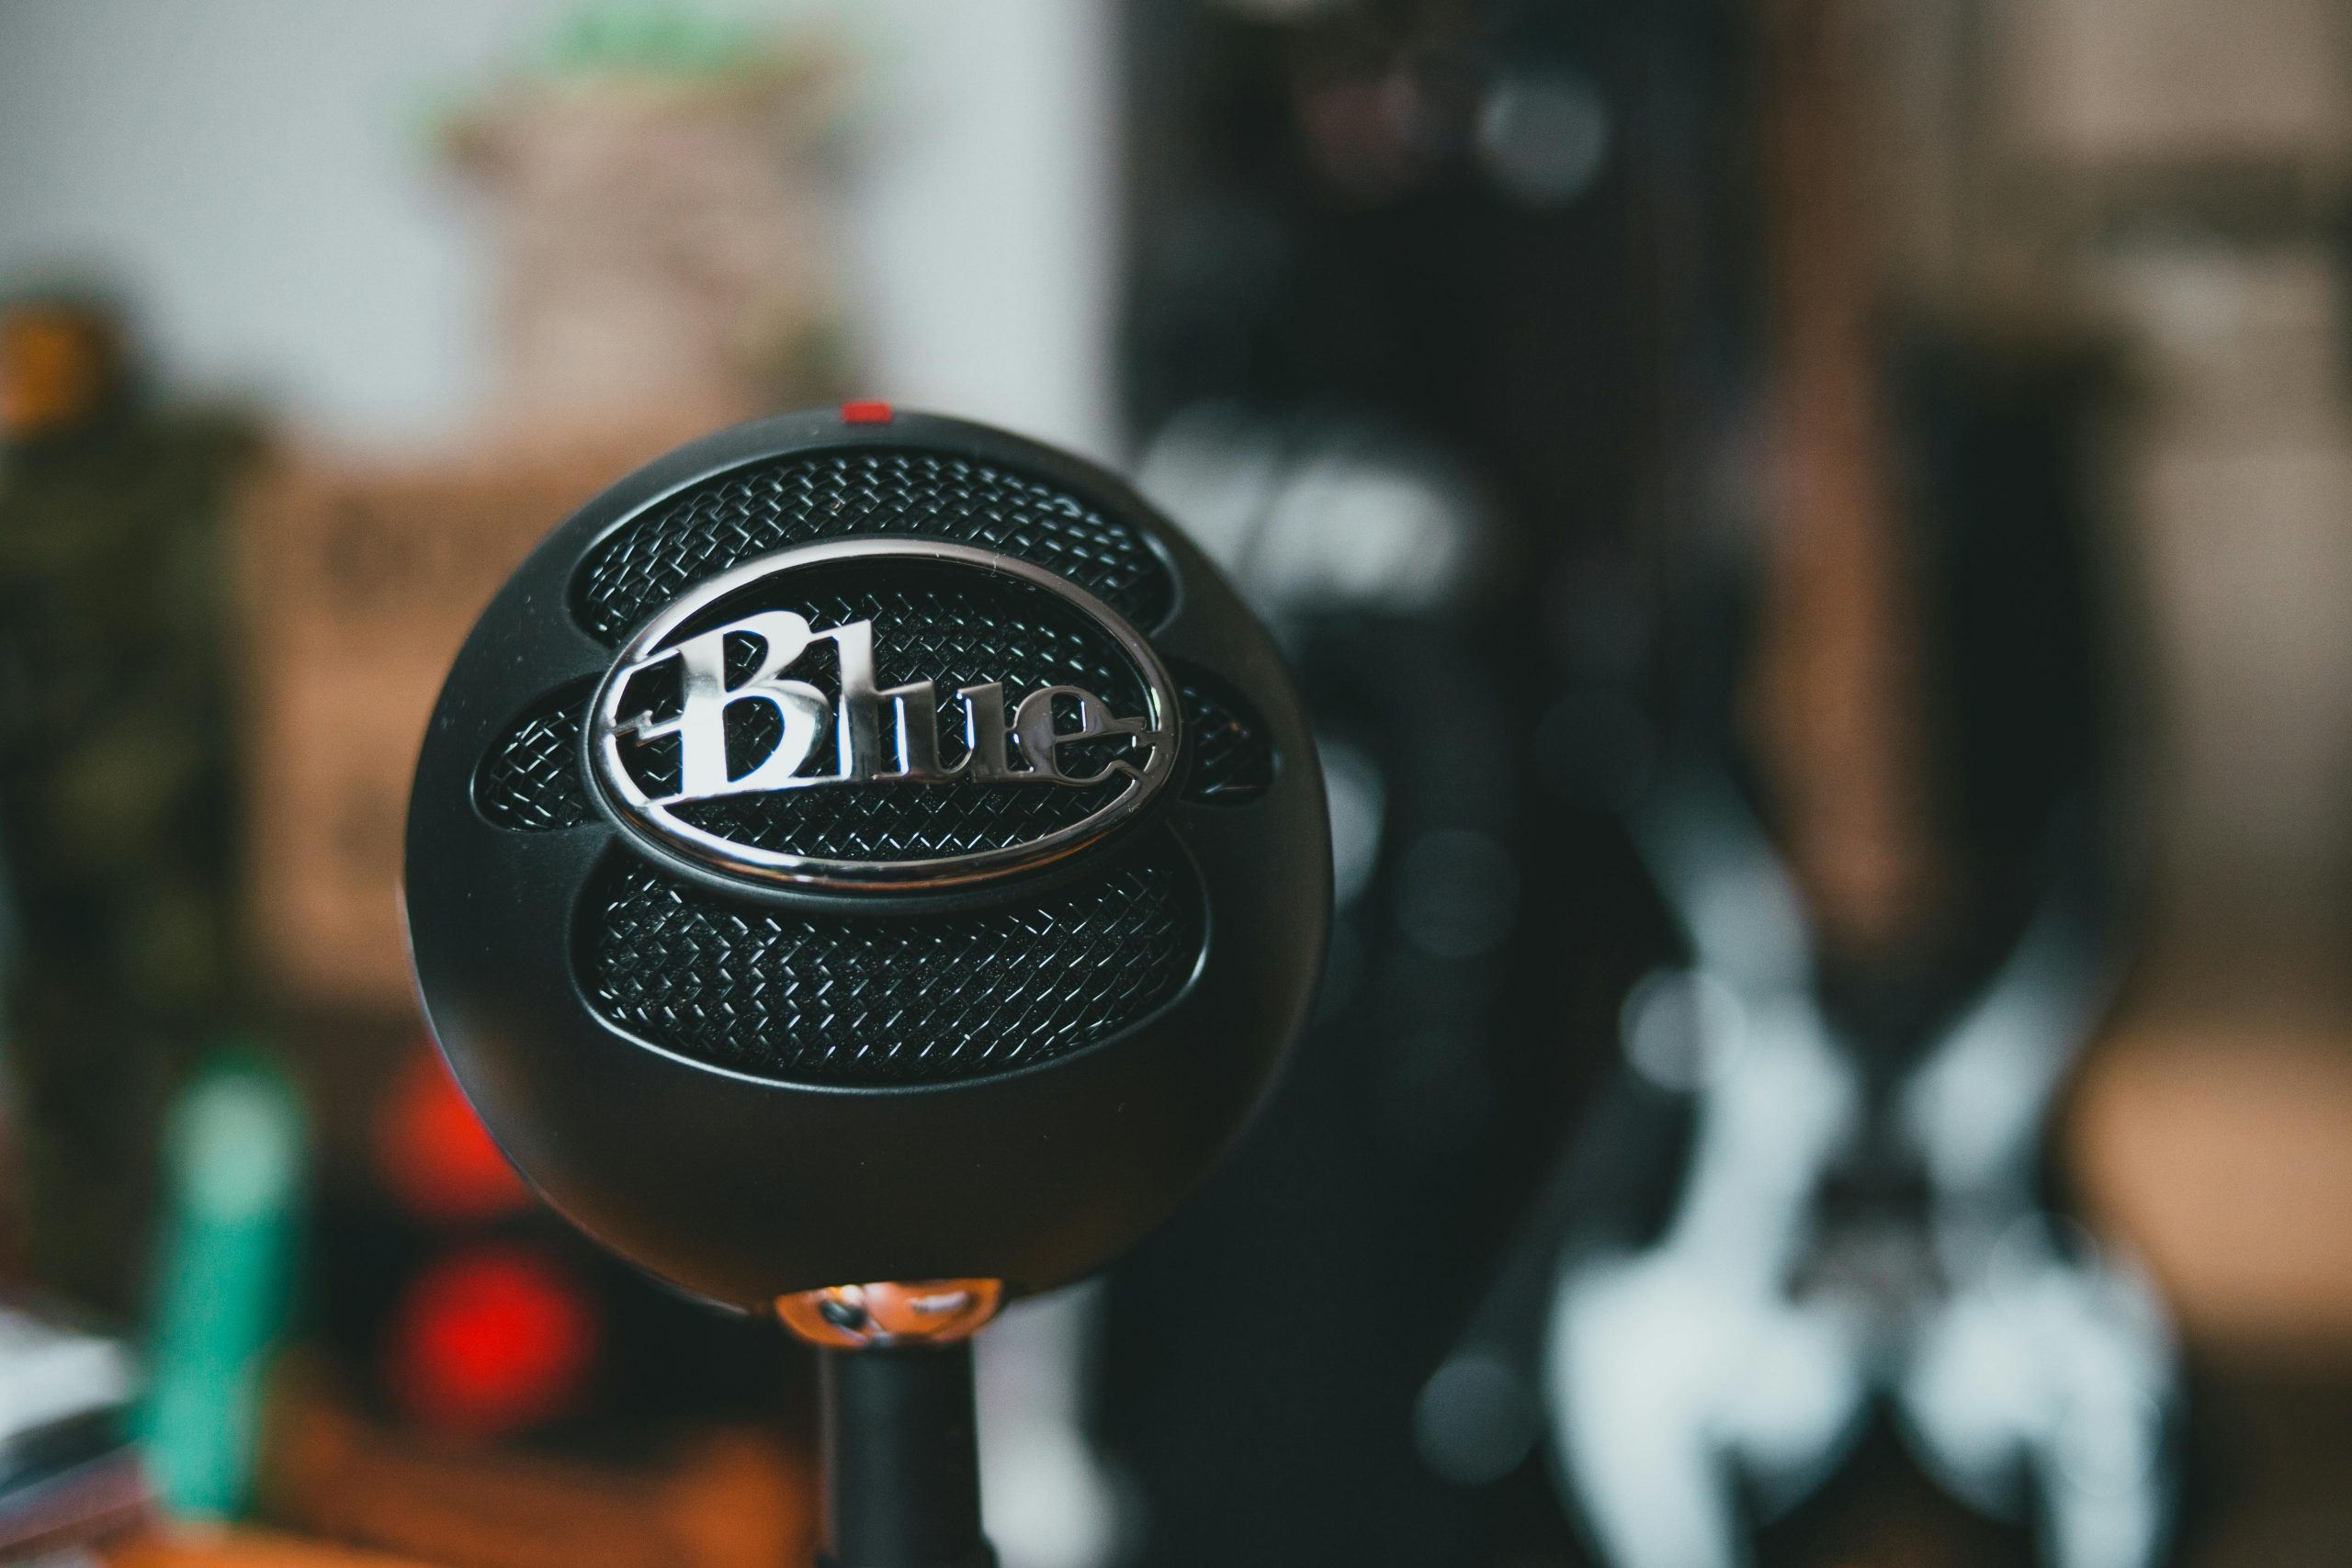
USB Microphones
USB microphones are popular for desk-based content such as commentary, tutorials, and voiceovers. They connect directly to your computer and offer a simple setup. For many YouTubers, this is the easiest way to achieve clean, consistent audio without additional equipment.
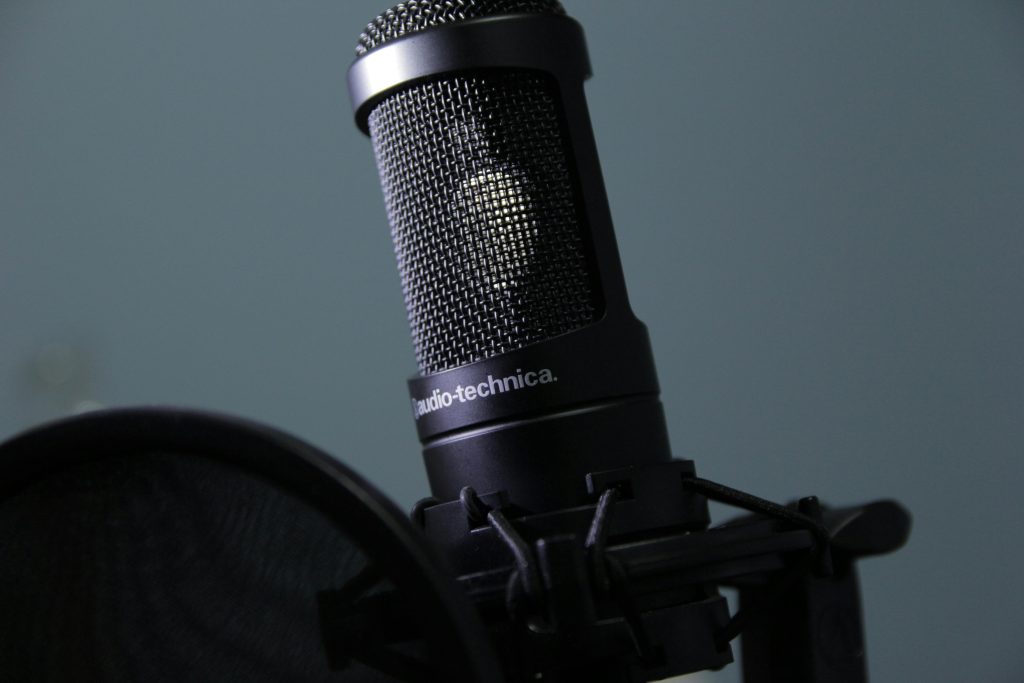
XLR Microphones
XLR microphones are used in more advanced setups. They require an audio interface but offer better control over sound quality. They’re ideal for studio-based YouTubers who want to fine-tune their audio and maintain a consistent recording setup.
Key Features to Look for in a YouTube Microphone
Choosing a YouTube microphone is about matching the mic to your content style, recording environment, and workflow. The right features make your audio easier to manage and more consistent across different types of videos.
Sound Quality and Clarity
Your microphone should capture your voice in a way that sounds natural and easy to listen to. That means clear mids, controlled highs, and enough warmth to avoid a thin or harsh tone.
Consistency also matters. A good mic maintains stable volume and tone even if your speaking level changes slightly. This is especially important for YouTube, where viewers expect smooth, polished audio across your entire video.
Background Noise Control
Most YouTubers are not recording in treated studios. Room noise, echo, and external sounds are part of the setup. A microphone with good noise control helps keep your voice front and center while reducing distractions. This is crucial for maintaining a clean sound, especially in talking head videos, tutorials, or voiceovers, where clarity is the priority.
Compatibility
Your microphone needs to fit your setup without adding unnecessary complexity. Some creators record directly into a camera, while others use a computer, audio interface, or even a smartphone. Choosing the right connection type ensures a smoother workflow. It also reduces the risk of audio issues during recording, such as signal problems or inconsistent input levels.
Portability
If you film in multiple locations, your microphone needs to be easy to move and quick to set up. Compact and lightweight options like lavalier or small shotgun mics are ideal for on-the-go recording. Even for home setups, portability can be useful if you switch between filming angles or recording spaces. A portable setup allows you to maintain consistent audio quality without being tied to one location.
USB vs XLR for YouTube
This is one of the most common decisions YouTubers face. USB microphones are convenient. XLR setups offer more flexibility and long-term upgrade potential.
Choose USB if:
- You record at a desk
- You want a simple setup
- You are creating voiceovers or commentary
Choose XLR if:
- You want more control over your audio
- You have a dedicated recording space
- You plan to scale your production quality
Best YouTube Microphone Setup
A strong setup helps you get the most out of your microphone.
Essential Gear
- Microphone
- Stand or boom arm
- Pop filter or windscreen
- Headphones for monitoring
- Audio interface for XLR setups
These components help maintain consistent positioning, reduce unwanted noise, and ensure you can monitor your audio while recording.
Mic Placement
Position your microphone close enough to capture your voice clearly without picking up too much room noise. For desk setups, 2 to 6 inches is a good range. For lavalier and shotgun mics, placement should focus on keeping the microphone directed at your mouth while staying out of frame when needed.
Recording Environment
Room acoustics have a major impact on your sound. Hard surfaces reflect sound and create echo. Soft materials like curtains, rugs, and foam panels help absorb reflections. You don’t need a professional studio. Small adjustments to your space can significantly improve your audio quality.
Common YouTube Microphone Mistakes
Most audio issues come from the setup rather than the microphone itself. Small adjustments can make a noticeable difference in how your videos sound.
Poor Placement
The microphone position has a direct impact on clarity. If it’s too far away, your voice loses presence and starts to sound distant or echoey. If it’s poorly angled, you may pick up unwanted noise or an inconsistent tone. Keeping your mic at the right distance and slightly off-axis helps maintain a clear, natural sound without harsh plosives or volume drops.
Inconsistent Audio Levels
Uneven audio is one of the most common issues in YouTube videos. Speaking too loudly can cause clipping, which creates harsh distortion that cannot be fixed later. Recording too quietly forces you to boost the audio in editing, which also raises background noise.
Setting proper levels before recording ensures your voice stays balanced and consistent throughout the video.
Ignoring Environment
Your recording space plays a huge role in audio quality. Hard surfaces reflect sound, creating echo and reverb that make your voice sound distant and unpolished. Simple adjustments like adding soft furnishings, closing doors and windows, or choosing a quieter location can significantly improve your sound without changing your microphone.
No Audio Monitoring
Recording without monitoring your audio is risky. You won’t notice issues like background noise, clipping, or connection problems until it’s too late.
Using headphones while recording allows you to hear exactly what your microphone is capturing. This helps you catch and fix problems immediately instead of discovering them during editing.
How to Improve YouTube Audio Without Upgrading Your Mic
Before buying new equipment, optimize your current setup.
- Adjust microphone placement
- Reduce background noise
- Improve your recording space
- Use basic editing tools like EQ and compression
These changes often have a bigger impact than switching microphones.
Who Needs Which Type of YouTube Microphone?

Different creators have different needs based on how they film, where they record, and the level of control they want over their audio.
Beginners
If you’re just starting out, simplicity and reliability matter most. USB microphones and lavalier mics are strong entry points because they require little to no setup.
USB mics are ideal for desk-based content like tutorials, commentary, and voiceovers. Lavalier mics work better for on-camera videos where you need to move around or keep the microphone out of frame. Both options can deliver clean, professional audio when used correctly.
Intermediate Creators
As your channel grows, audio consistency becomes more important. You may start noticing issues like uneven volume, background noise, or limited control with basic setups.
Upgrading to a higher-quality USB microphone or moving into an entry-level XLR setup gives you more control over your sound. This is especially useful if you’re filming regularly in the same space and want your audio to feel more polished across videos.
Advanced Creators
For experienced YouTubers, audio is part of the overall production quality. High-end XLR microphones, combined with audio interfaces and proper acoustic treatment, allow for precise control over tone, levels, and consistency.
These setups are ideal for studio-based content, interviews, and professional productions where sound quality needs to match high visual standards. At this level, the focus is not just clarity, but delivering a consistent and recognizable audio experience across every video.
Final Thoughts
YouTube microphones shape how your content is experienced and how your brand is perceived. The right microphone doesn’t have to be expensive. It just needs to match your setup, your environment, and your content style. Focus on clarity, consistency, and control. Get those right, and your videos will instantly feel more professional.