A Beginner’s Guide to DIY Microphone Construction
Table of Contents
Building your own microphone might sound like something reserved for engineers or hardcore audio geeks, but it’s actually one of the most rewarding entry points into DIY audio. If you’ve ever wondered how microphones turn sound into a usable signal, or you simply want a hands-on project that improves your recording setup, DIY microphone construction offers both education and practical value. It’s not just about saving money. It’s about understanding sound at its core, and shaping it yourself.
This guide walks you through everything you need to know, even if you’ve never picked up a soldering iron before.
What Does It Mean to Build Your Own Microphone?
At its simplest, building a microphone means assembling a system that captures sound waves and converts them into an electrical signal. That signal can then be recorded, amplified, or processed. But once you get into it, you realize it’s more than just assembling parts. You’re making decisions that affect how your microphone sounds, its clarity, warmth, sensitivity, and even background noise rejection.
That’s what makes DIY microphones so appealing. You’re not just building a tool. You’re shaping an audio experience.
Understanding How Microphones Actually Work
Before you start building, it helps to understand what’s happening under the hood. A microphone works by converting sound waves into electrical signals. This happens through a component called a diaphragm, which vibrates when sound hits it. Those vibrations are then translated into an electrical signal using different methods depending on the microphone type.
The strength and quality of that signal depend on several factors: the diaphragm material, internal circuitry, and how well the microphone is shielded from interference. Once you understand this basic flow, sound to vibration to signal, you’ll find the rest of the process much easier to follow.
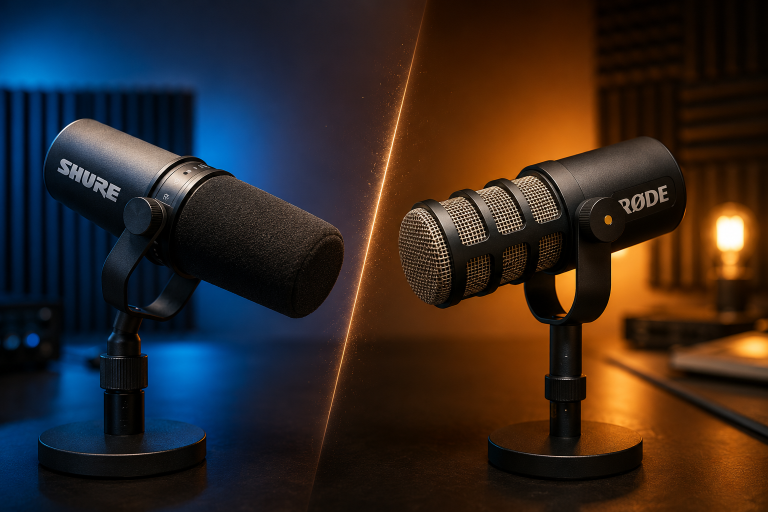
Types of DIY Microphones You Can Build
Not all microphones are created equal, and the type you choose will shape both the build process and the final sound.
Dynamic Microphones
Dynamic microphones are the most beginner-friendly option. They use a simple electromagnetic principle, where a coil moves within a magnetic field to generate a signal. They’re durable, forgiving, and don’t require external power. If you’re just starting out, this is usually the best entry point.
Condenser Microphones
Condenser microphones are more sensitive and capture more detail. They rely on a capacitor system and typically require phantom power. They’re excellent for studio recording, but more complex to build. Beginners can still attempt them, but they require more precision and understanding of circuitry.
Electret Microphones
Electret microphones are a simplified version of condenser mics and are commonly used in DIY builds. They’re affordable, compact, and easier to work with while still delivering solid audio quality.
Essential Components You’ll Need
Every DIY microphone, regardless of type, relies on a few core components:
- Microphone capsule – the heart of the system that captures sound
- Housing – protects internal parts and influences acoustic performance
- Wiring – carries the audio signal through the system
- Connectors (XLR or 3.5mm jack) – allows connection to recording devices
- Preamp (optional) – boosts weak signals for better audio quality
- Shielding materials – reduce noise and electromagnetic interference
Each component plays a role in shaping your final sound, so even small upgrades can make a noticeable difference.
Tools Required for DIY Microphone Construction
You don’t need a full workshop, but a few tools are essential:
- Soldering iron – for making secure electrical connections
- Solder wire – used alongside the soldering iron
- Multimeter – helps test connections and troubleshoot issues
- Wire cutters/strippers – for clean cable preparation
- Screwdrivers – for assembling the housing
- Heat shrink tubing or electrical tape – for insulation and protection
If this is your first time soldering, don’t worry. It’s a skill you can pick up quickly with a bit of practice.
Step-by-Step: How to Build a Simple DIY Microphone
Let’s walk through a beginner-friendly build using an electret microphone capsule.
- Prepare the microphone capsule: Identify the positive and ground terminals on the capsule. This step is crucial. Getting the polarity wrong can result in no signal at all.
- Solder wires to the capsule: Carefully attach wires to each terminal. Keep your soldering clean and minimal to avoid weak connections or interference.
- Connect the output jack: Attach the other ends of the wires to your chosen connector, whether it’s a 3.5mm plug or an XLR output. Make sure connections are secure.
- Assemble the housing: Place all components inside your microphone body. This could be a repurposed metal tube or a custom enclosure. Ensure everything is properly insulated and stable.
- Test the microphone: Before sealing the housing, plug the microphone into an audio interface or recorder. Check for signal clarity and listen for unwanted noise.
- Finalize the build: If everything sounds clean, secure the components fully and close the housing. Your DIY microphone is now ready to use.
Common Mistakes Beginners Make (and How to Avoid Them)
- Poor soldering: Weak or messy connections can introduce noise or cause the microphone to fail entirely. Take your time and aim for clean, solid joints.
- Ignoring shielding: Without proper insulation, your microphone can pick up hum or interference from nearby electronics. Use shielding materials wherever possible.
- Overlooking the housing: The enclosure doesn’t just hold components. It affects resonance and overall sound quality. Choose materials and design carefully.
- Rushing the build: Skipping steps or working too quickly often leads to mistakes that are harder to fix later. Slow, careful assembly always pays off.
How to Test and Improve Your DIY Microphone
Once your microphone is working, the real fun begins. Test it in different environments. Record vocals, ambient noise, or instruments. Pay attention to clarity, background noise, and sensitivity.
If the sound feels off, small tweaks can help. Adjusting the internal wiring, improving shielding, or even changing the housing material can lead to noticeable improvements. DIY microphones are rarely perfect on the first try, and that’s part of the process.
DIY vs Store-Bought Microphones: Is It Worth It?
Building your own microphone won’t always be cheaper than buying one, especially if you factor in tools and time. But cost isn’t really the point.
DIY microphones give you control. You understand exactly how your gear works, and you can modify it to suit your needs. That level of customization is something off-the-shelf products rarely offer. For hobbyists, creators, and audio enthusiasts, that alone makes it worth it.
Advanced Upgrades Once You Master the Basics
As you gain confidence, you can explore more advanced builds. This might include creating a full condenser microphone with phantom power support, experimenting with different capsule types, or adding a built-in preamp. You can also refine your designs for specific uses: podcasting, music recording, or even binaural audio setups.
At this stage, you’re no longer just building microphones. You’re designing them.
Final Thoughts
DIY microphone construction sits at the intersection of creativity and engineering. It teaches you how sound works, how electronics behave, and how small details shape the final result. And once you’ve built your first working microphone, something clicks. You stop seeing audio gear as mysterious black boxes, and start seeing them as systems you can understand, improve, and even reinvent.
Frequently Asked Questions
Is it cheaper to build your own microphone?
Not always. While components can be inexpensive, tools and trial-and-error can add up. The real value is in learning and customization.
Do DIY microphones sound good?
Yes, especially when built carefully. Many DIY microphones can rival entry-level commercial models.
Do I need soldering skills?
Basic soldering is required, but it’s easy to learn and improves quickly with practice.
What is the easiest microphone to build?
Electret microphones are the easiest starting point for beginners due to their simplicity and affordability.
Can I build a condenser microphone at home?
Yes, but it’s more advanced. It requires additional components and a better understanding of circuitry.