How to Set Up Microphone
Table of Contents
You’ve probably done your research and bought the right microphone for your audio recording needs that has great sound and audio quality and is exactly what you’ve been looking for in a microphone. However, no matter what type of recording you’re about to do, whether it’s pre-recorded videos, live streaming, or podcasts, you may be encountering a few hurdles when it comes to your microphone setups, such as poor sound or audio quality due to several outside factors.
Getting the best quality out of your microphone device requires knowing how to correctly adjust your microphone set up so you can avoid potential sound issues like background sounds or an unclear recording. Here are a few steps you should take to test and fix your microphone setup and get the best possible sound and recording from it.
Know the Basics of Your Mic Setup

The simplified way to configure and test your microphone, whether you’re about to speak for videos or podcasts or record music, is to screw your mic to a stand or a swivel, use the shock mount to isolate vibrations, attach the foam or pop filter, and input your mic using an XLR cable to your sound device, audio interface, recorder, or mixer.
Choose the Microphone Best Fit For You
First and foremost, the best way to avoid microphone problems is to really know what kind of microphone device you have. Your mic is the most essential part of having a high-quality recording, and getting the most expensive kind isn’t automatically going to give you the sound you want to hear. Keep in mind aspects when you begin to test your microphone like the type of mic from condenser to dynamic mic, affordable quality, durability, correct sensitivity to pick up select sounds, low self-noise, etc.
Invest in Microphone Accessories
Before you start recording, it’s important to have the right tools and devices that will help your recording quality even further. Having a proper mic stand, shock mount, pop filter for condenser mics, and foam filter for dynamic mics are the most basic parts of a proper recording setup that will help effectively reduce or eliminate the volume of loud background noise.
Choose the Right Location for Your Recording
If you’re recording at home and don’t have a dedicated, soundproof recording room, choose a space that is furthest from unnecessary sound, uncovered windows, low ceilings, or other obstacles that may cause sound interference. Having an absorbing layer behind you can also significantly improve the sound and voice quality that your mic picks up.
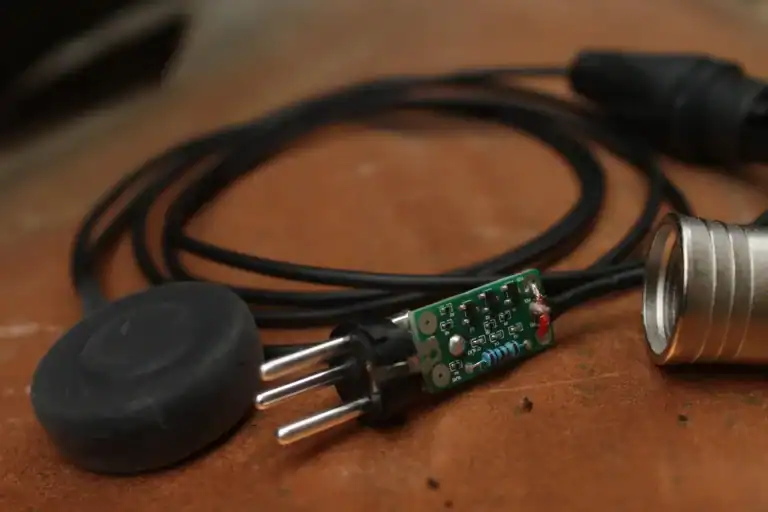
Upgrade Your Cables
Better cables also have features like additional layers of shielding, which keep the electricity in and prevent radio waves from interfering with the mic signal. More devices surrounding you mean the higher the level of interferences that can impact your microphone recording.
Good quality cables will help to solve many of the issues encountered in a typical home studio and will deliver professional results for your sound quality. Configure this aspect of your setup if you are looking for clarity and high cancellation of noise caused by typical sound equipment like preamps, audio interfaces, speakers, and even your headset.
Connect to a Computer With a Good Quality Audio Interface

Audio interfaces allow you to plug a professional microphone into a computer. They are essential for capturing sound, as professional microphones connect with three-pin XLR jacks and require a phantom power source to operate.
By having preamp capabilities, the audio interface improves the sound quality of your computer. Additionally, a good quality audio interface operates independent sound channels to help you avoid distracting latency on your headphones or speakers.
Have a Checklist to Test Before Each Recording
Having a dedicated studio to record your videos or sound where you don’t need to adjust your microphone setup each time you record new sound is the best way to avoid microphone issues.
However, if you record remotely or always need to do a quick preparation of your recording location, having a checklist that reminds you to test and adjust certain settings on your microphone, eliminate select sounds, adjust your mic volume, and others will always ensure that you mount, connect, configure, and set up your gear accordingly.
Final Note
Whether you’re creating videos, live streaming, or podcasting, being able to test out your microphone and adjusting settings is essential in getting the best out of your device. After all, you don’t want those listening to your recordings through your microphone to hear unwanted sound, so knowing the basics of adjusting your microphone settings, eliminating background volume, having the right accessories, and other aspects can really enhance your videos or recordings to a professional level.